Console Table Build Part 11
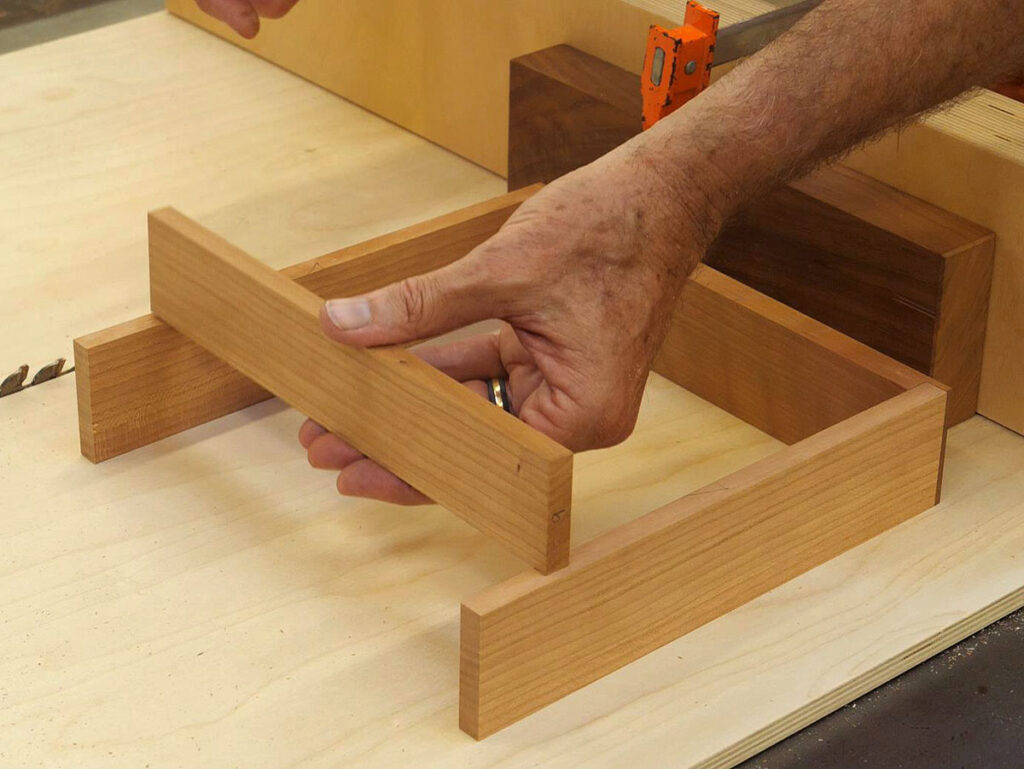
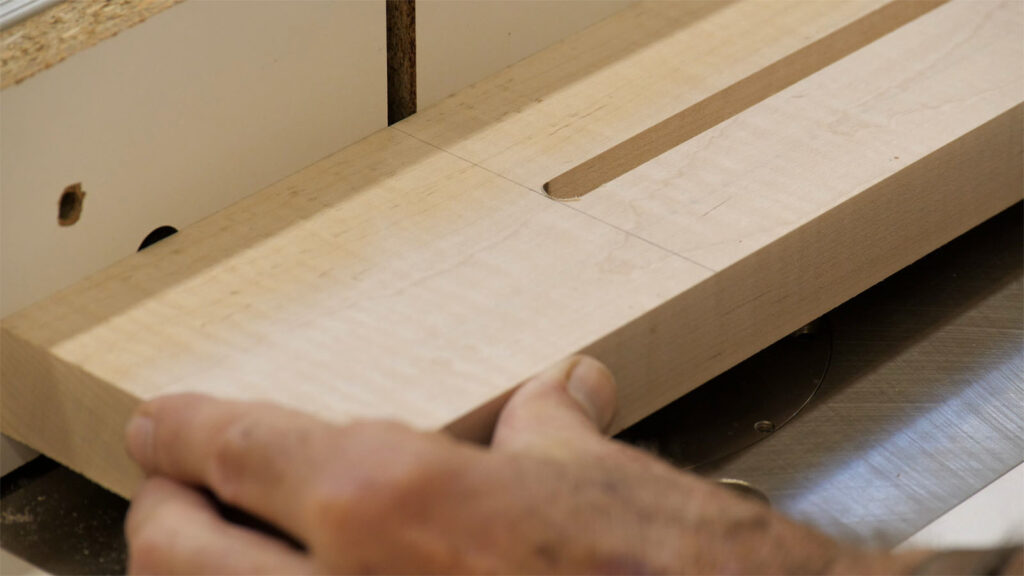
The last part of the table build is the drawer. The joinery is pretty simple – rabbet/dado at the front and a dado at the back, with some dowels thrown in to keep it all together. If this was a spec piece, I might use dovetails, but since this was for a course I was teaching we kept the joinery simple. And once the dowels are in (after the glue-up), this drawer is pretty strong.

One nice thing about the drawer-back joinery is that the ends of the drawer sides hit the back of the rear apron and it is easy therefore to determine their length. If dovetails (a more traditional joint) were used, the entire back of the drawer is flat and getting the drawer length correct can be more of a challenge. If I was to use that joint (along with a half-blind dovetail in front), I would make the drawer shorter and add a separate stop in the back. The stop could be cut to final length after the drawer is complete.
Dovetails would, of course, take much longer to make. If this piece was for a client that would add to the cost. When I was doing this for a living, those kinds of decisions were based on the client’s desires, budget, knowledge, etc. Since the joinery is not visible most of the time, most people wouldn’t care; they just wanted something that worked. I rarely never had the luxury of making what I wanted with the client paying whatever it took.
Getting what I consider a really good fit on a drawer is rare. As you’ll see in a later video, this one fits nicely but still ends up with a bit more play than the ideal. It’s surprising how tightly you can get a drawer to fit and it still works well, if everything is square and well-dimensioned.
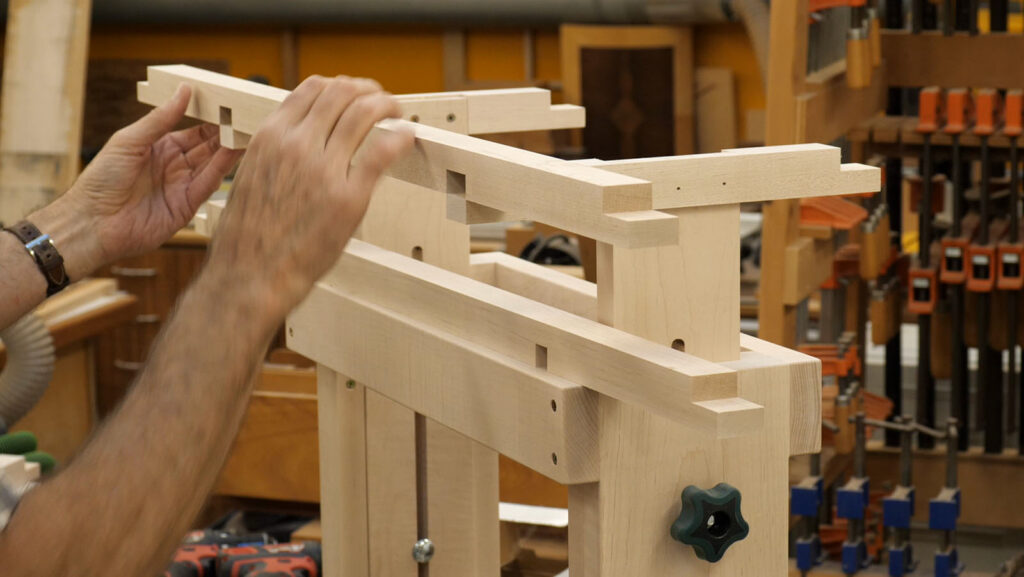
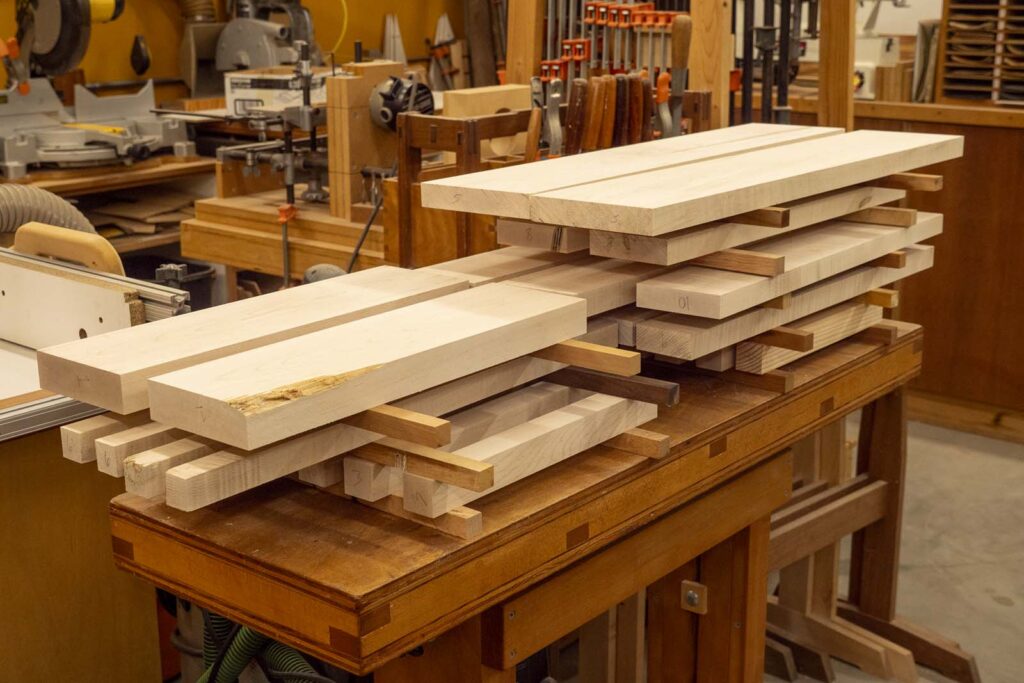
In this video, I prep the parts and cut the joinery.


