Dragon Stool Part 3
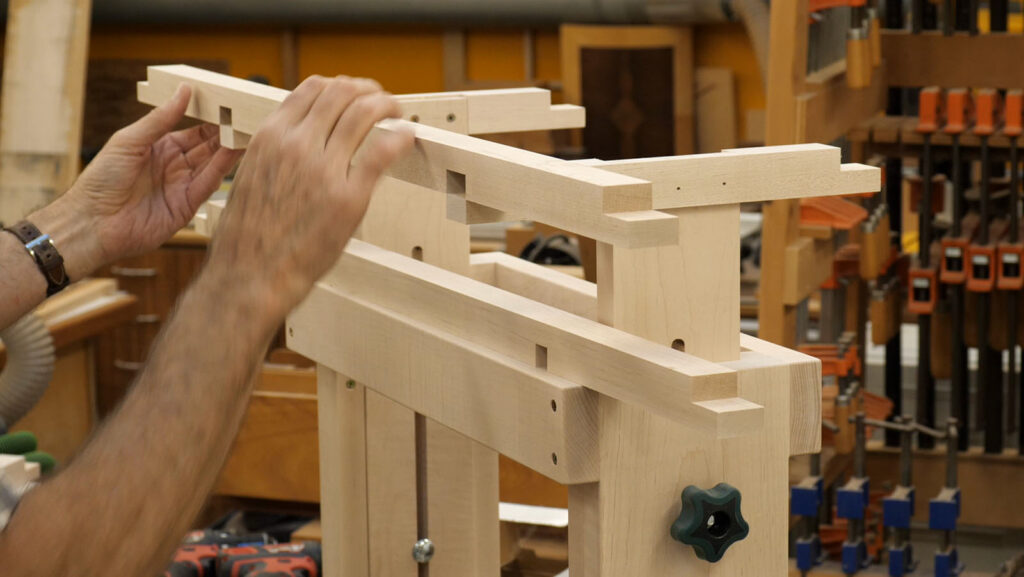
The leg-to-seat joinery is next, mortises first as usual. It’s almost always easier to fit the tenons to the mortises, so the tenons are made and fit second.
I created the mortise layout on the underside of the seat, primarily because that’s where I put the 2-3/4″ dimension on my drawing. I realize now that Bob Lang shows that dimension on the top of the seat, which puts the legs about 5/16″ further outboard than my drawing. I missed that…
My error turned out well in the end. Sometimes you get lucky! Typically, when cutting a through mortise, I would create the layout on both faces of the part and cut through each face about halfway, meeting in the middle. In this case, with an irregular reference (the top blank was only roughly square) and mortises angled in two directions, it would be very difficult to accurately create the layout. So, all the cutting had to be done from one face, which would typically be the top since that is the show face. But no, my layout was on the bottom, and I knew I would be sculpting the top surface thus removing any tearout.
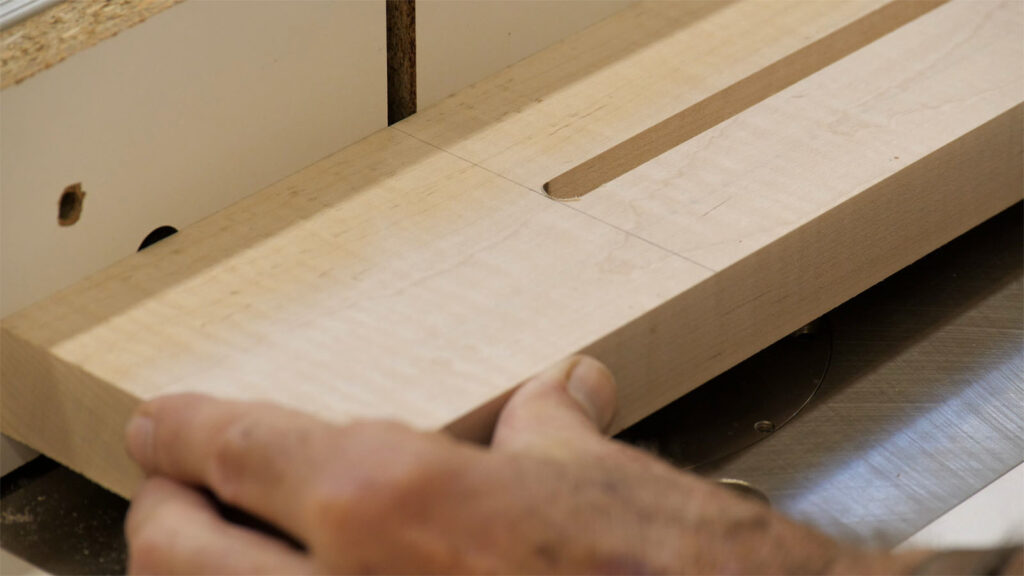
That’s where I got lucky – cutting from the underside, the mortise was slightly narrower on the back side (the top). That made my tenon fit a little more tightly where it would show. If I had cut the mortise similarly from the top, there would have been a gap on the sides of the mortise that would not be fixed by wedging.
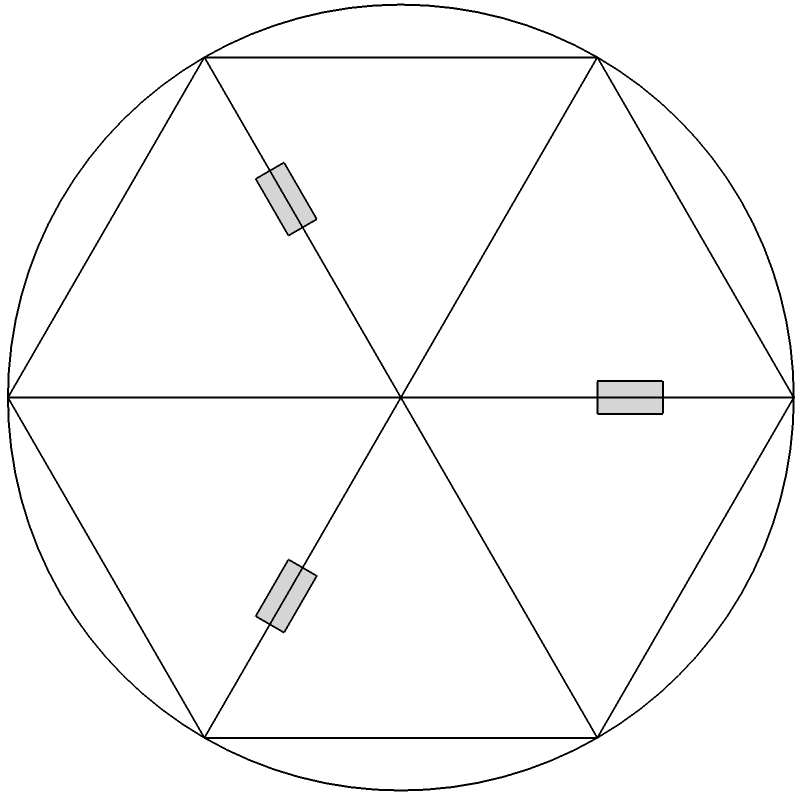
The image below shows how the compass layout works. Note the six equilateral triangles inscribed inside the circle. An easy way to lay out the 120 degree distance between the mortises.


