Dragon Stool Part 2
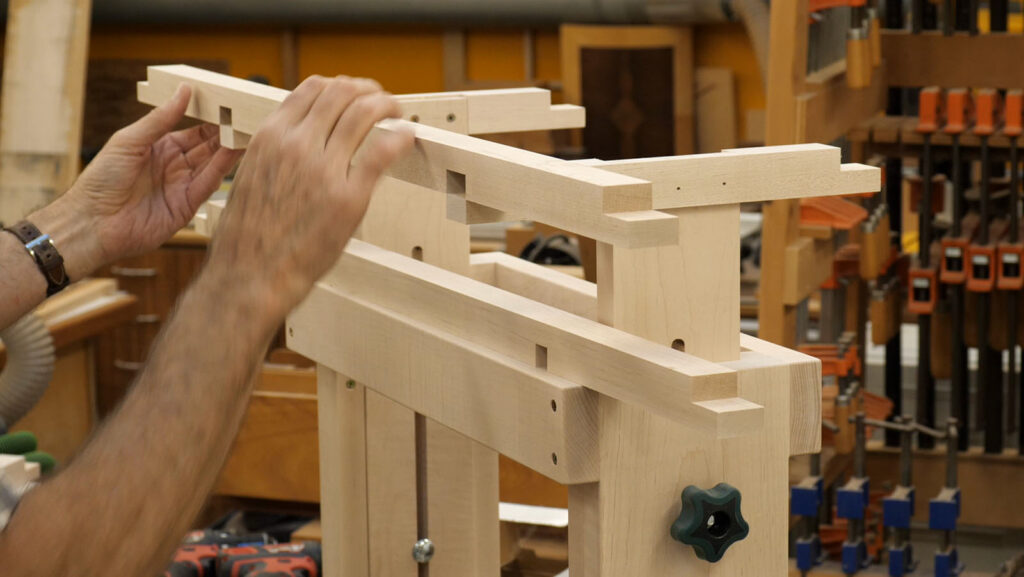
At first glance, the stretchers for the Dragon Stool look to be the most challenging part of the project. Three mortise and tenon joints, all angled (in one direction), and all must be assembled simultaneously. Definitely challenging, but it turns out they are only a warmup for later, more “interesting” endeavors.
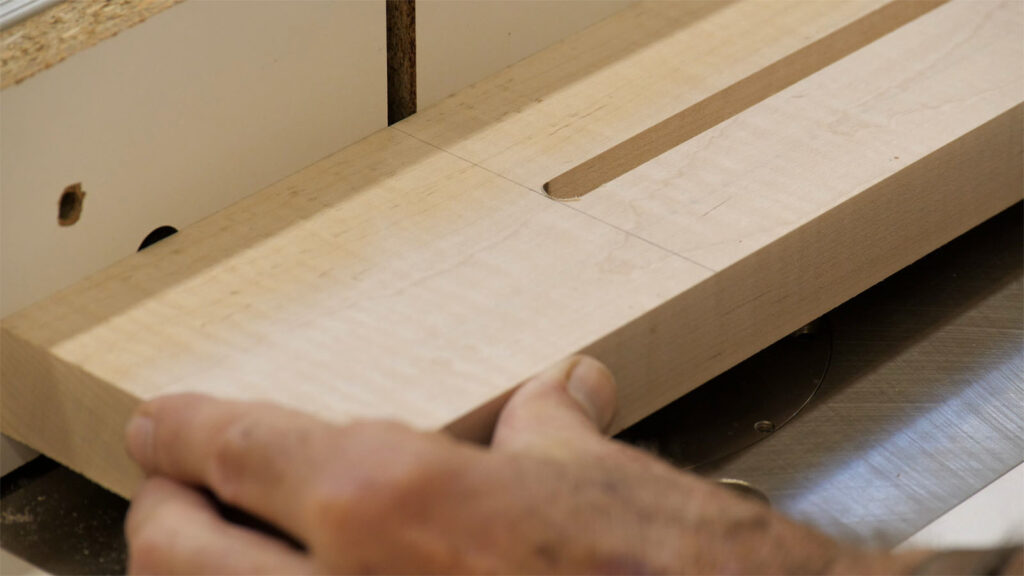
In the previous post/video, I covered laying out the joints using a marking knife. Because a chisel will be used to pare to the layout lines, the knife line is invaluable. It locates the chisel in a way not possible with a surface mark made by a pencil.
If the chisel and resultant cut is perpendicular to the surface of the wood, the depth of the layout line can and should be relatively deep (1/32″ to 1/16″). But in the case of an angled mortise, two of the cuts are not perpendicular and a “normal” knifed layout line can work against you.
In the image below, the dark area indicates the mortise; the lighter shading is the surrounding wood. The short vertical lines illustrate the marking knife lines. On the left side, the deep line isn’t much of an issue because it will be cut away. It can still work against you, however, since the marked line is actually wedge-shaped, wider at the surface. On the right, a small wedge-shaped piece is left behind after the mortise is completed. In both cases, a deep line doesn’t help; you only need enough of a line to register the tip of your chisel. 1/64″ or less is fine.

If you could make the layout line at the correct angle, that would be best. But that is tricky – the reference (in this case I used a combination square) has to be on the correct side of the line and you have to match the angle closely. I don’t think it’s worth the extra effort.


