Dovetailing Tips
When I was teaching dovetails for my hand tool class, I found that students had the most difficulties with the following steps – removing the waste from between the pins and tails, marking the pins, and creating/seeing/understanding the lines on the end of the pin board.
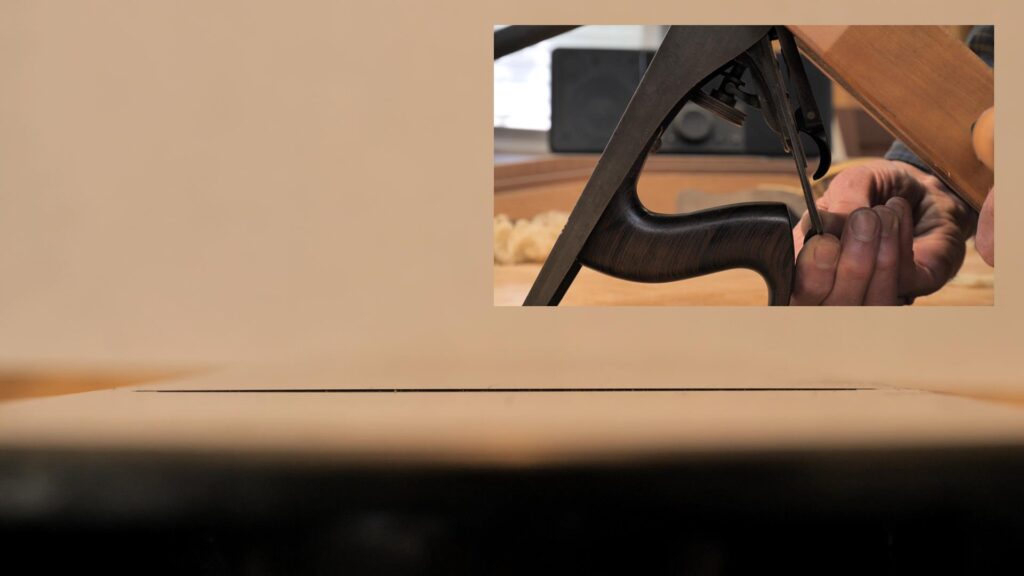
While I prefer sawing out the waste between the pins and tails with a fret saw, not everyone has a fret saw and sometimes, even if you own one, you might find it easier to chop out the waste. About one third of my students felt that way. It goes pretty quickly, especially if you don’t try to chop out every bit of the material; if you follow the directions in the video, half or less of the material is actually chopped, the remainder comes out as a chunk.

The blue-tape method is particularly helpful, especially in darker woods where it’s difficult to see your lines. That’s the situation Mike Pekovich found himself in when he created the method. It’s also helpful if you’re not clear on “cutting on the waste side of the line,” which many students had difficulty with. Put your saw next to the tape and cut. This, of course, doesn’t work if you remove the wrong parts of the tape (not that anyone ever did that…).
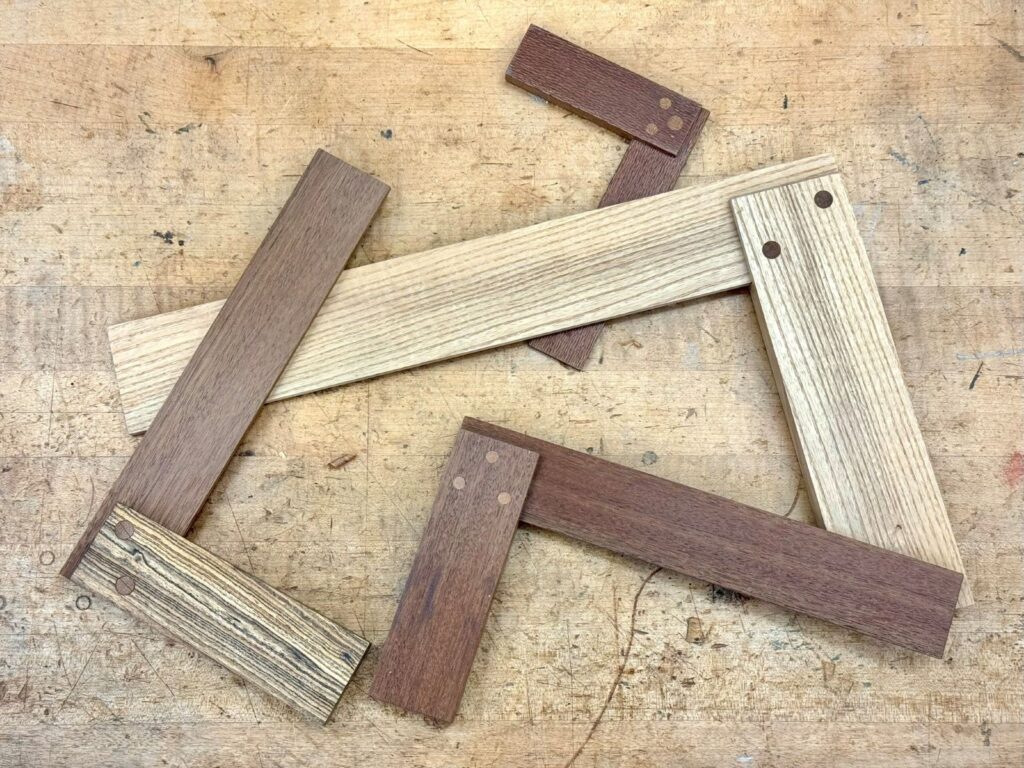
Lastly, the tail transfer tool is very helpful in lining up the tail board with the end of the pin board. Doing this by eye is a challenge for anyone, so I really like this simple tool.
Sawing to a line is certainly the most challenging skill involved in cutting dovetails and the only suggestion I have there is good form and practice. For those who just can’t get there, try a sawing guide. David Barron’s is very good.
Downloads: