Lidded Box Part 2
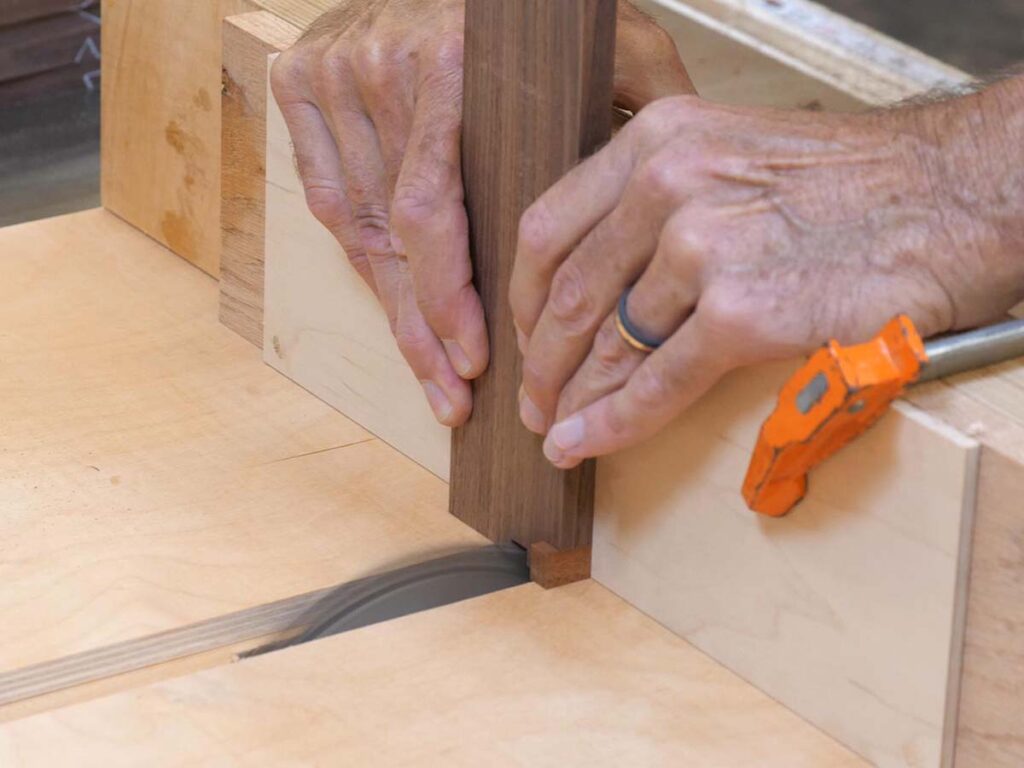
Box joints! They seem so simple yet they are so easy to mess up. A good jig is helpful, but most important is consistent pressure and alignment. Diligence and accuracy is key.

My joints turned out great, but as I describe in the video, I dodged a bullet when some of my parts were too narrow to be supported on the base of my dado sled. I had considered this before starting, but then I got lazy. My initial plan was to mount with double-stick tape a sacrificial base (1/4” MDF) on the sled so I only had a 3/8” kerf in the bottom of the sled. That would have solved the problem, but by the time I remembered to do it I had everything set up and I didn’t want to take the time to redo everything. It could have gone very wrong, but I was lucky. The height of the finger that sets the finger spacing was within .002” of the finger depth, so it supported the parts perfectly. Woohoo!
I have to admit, however, that I ignored the advice I often gave to my students. It’s better to take the time initially to get things sorted out, because fixing the error will take much longer. In my case, I could have messed up parts for which I had no more material. I would have had to start over making all the parts. Like I said, I was lucky…


