Donkey’s Ear
In my last post, I discussed making a shooting board. In this post, I’ll show you how to make a donkey’s ear, which allows you to create mitered ends for use in creating a box or similar project.
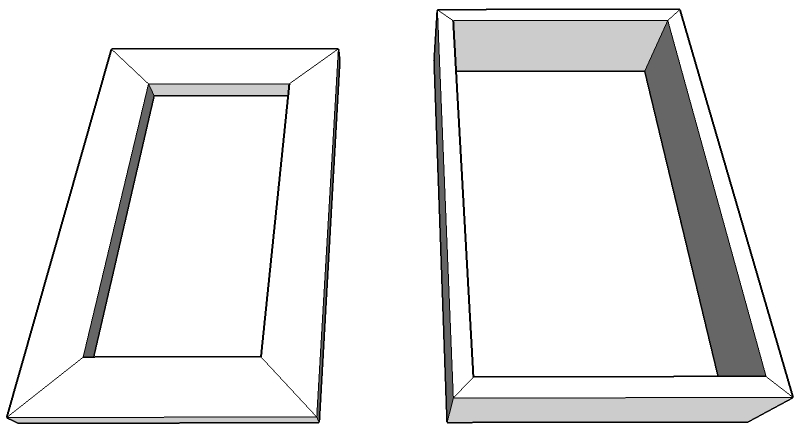
In general, there are two types of miters on the end of a board. One allows you to make a picture frame, the other will make a box or small cabinet. The images below show the difference – frame on the left, box on the right.

Both can be cut on various saws, but a sawn surface is rarely as accurate as a planed surface. The trick is holding the work while it is planed, and a shooting board with the appropriate jig works great. For the frame miter, the work is held with the stock flat on the shooting board, similar to how it’s held when shooting at 90 degrees, but rotating it around a vertical axis. That is relatively easy; a triangular board with the appropriate angle can be used. Most often, the angle is 45 degrees, but just about any angle is possible.
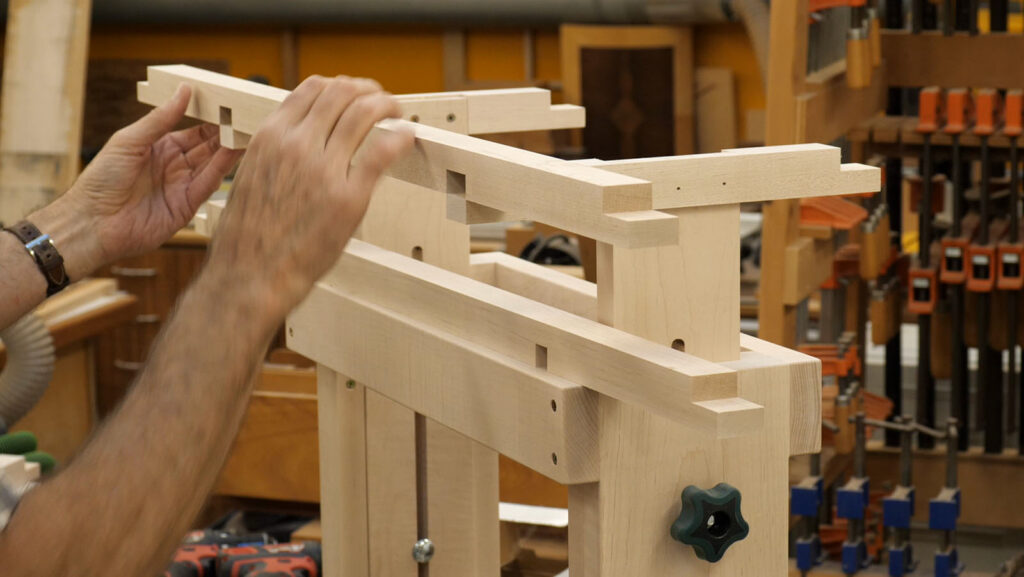
The box miter (I’m making up these names…) is a little trickier. The stock must be held up (or down) in order to make the cut, hence the donkey’s ear is used. From what I can tell, a traditional donkey’s ear holds the stock down off the edge of a workbench. See this post by Jeff Gorman in the UK for a description. Mine, and most of those you’ll find on the web, hold the stock up. There are other designs out there, all with their advantages and disadvantages. You can decide which works best for you. I came up with this design because it is fairly easy to adjust to obtain the correct angles and it just bolts onto my regular shooting board.
Watch the video to see how I make it. Download the procedure by clicking the link below.


Very nice jig