Dining Chair Fail
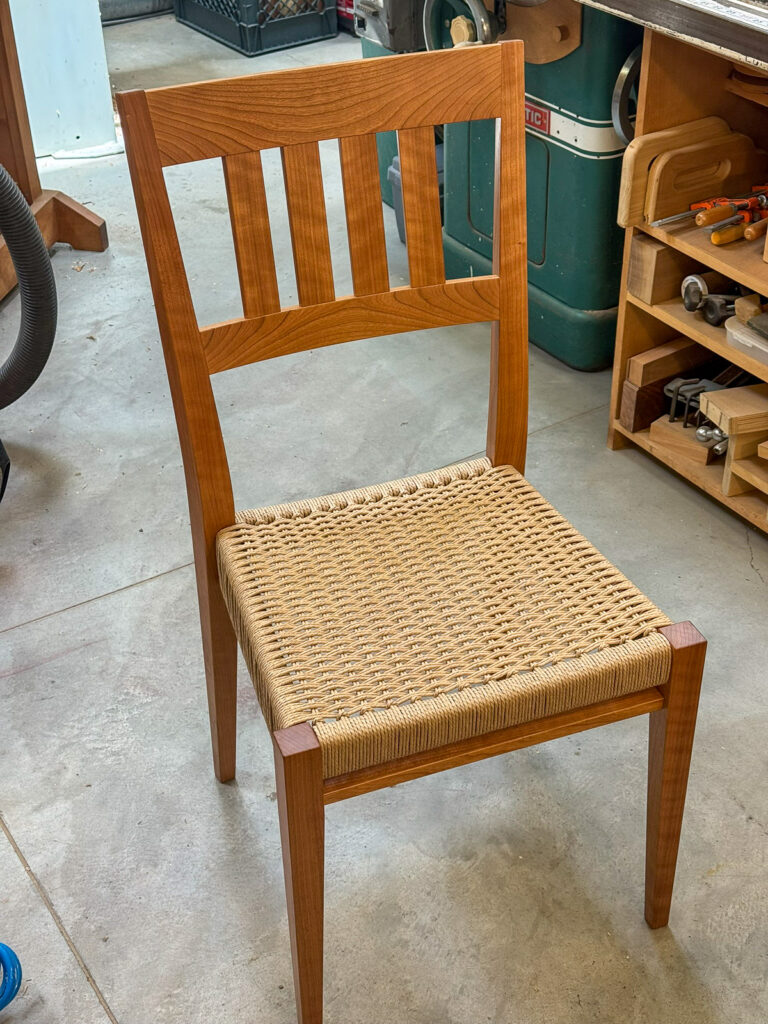
Crap! I sat down in one of my new Danish cord dining chairs a couple of weeks ago and heard a loud crack, after which I was sitting a bit lower in the chair. Not good. A quick examination revealed one of the upper side rails had broken near the back joint.
I put off dealing with it for a bit, avoiding the inevitable while giving some thought to the cause. I have never forgotten a story told to me when I was in school studying mechanical engineering. A professor told us of a neighbor who, in stringing the cables for a clothesline between two T-shaped poles, got the lines as tight as possible to avoid any sag. After wet clothes were placed on the line, the poles collapsed inward. A little sag in the lines would have greatly reduced the load on the poles.
My chairs faced a similar situation whenever I sat in them, although based on previous experience with my stool, I didn’t think there was cause for concern – the cross-section of the rails on the stool are the same as those on the chairs, 7/8″ (22mm) wide and 1″ (25mm) tall.
There is one difference, however, and it was revealed after I (painfully) cut off the Danish cord.


I think there are two issues that caused the problem. On the stool, all the joints were square; on the chair the joint that broke is angled (in two directions). Because of that I used loose tenons (I used traditional tenons on the stool). If the load on the joint was only tension or bending I don’t think it would have made much difference, but the load on this joint includes quite a bit of shear, or side load.
The other issue is tenon placement. In order to maximize the length of the tenons in the back leg, I moved the mortises as far from the inside corner as possible. That meant that the mortise in the rail was only 1/8″ (3mm) from the outer surface, which is not a lot of material to resist the side load when I’m seated.
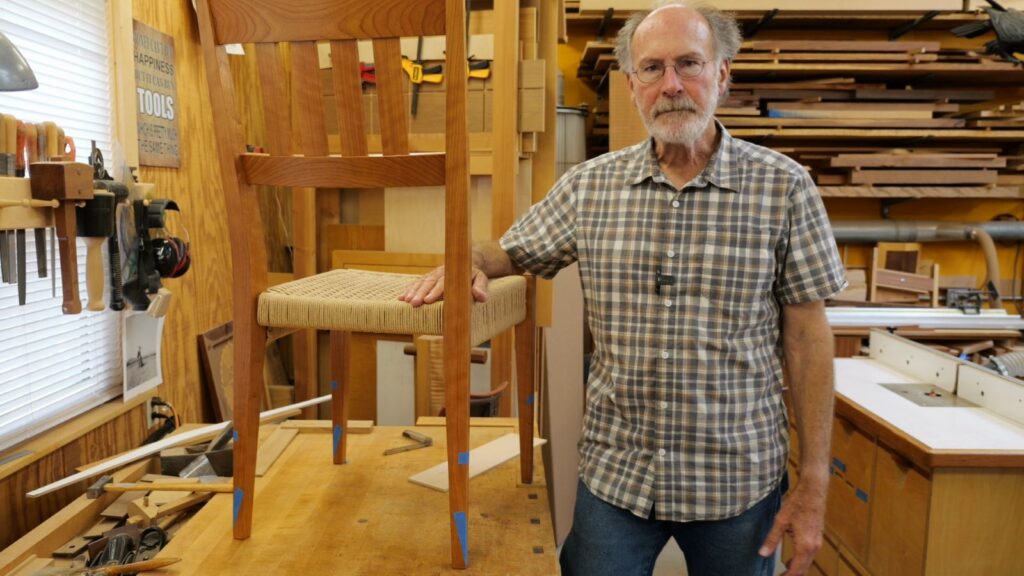
The result? A crack right through the mortise in the rail. The fix? A new rail; well, four new rails. I can’t replace just one rail, so I (painfully, again) cut apart all the side rails with a hand saw. That leaves me with two subassemblies, the front-legs/front-rails and the rear-legs/rear-rails, between which I can add new rails.
I emailed David Johnson of Sidecar Furniture to get his take on the issue. You may remember that I consulted with him on the original design of the chairs. He responded with this, “…A solution to this can be seen in this video. Wegner wanted a thin rail but made it wider to add mass, extending into the seat area. This is why there are four cords forming the warp on the outer edges. These four cords cover the extra width of the rail. It’s my theory that this is why nearly all Danish chairs have four cords on the edges whether it’s needed or not. They were copying Wegner.”
Here’s an image from the video that shows the fix:

Note the extra material on the inside of the side rail, made slightly lower and when complete is covered with four cords so it doesn’t show. Very clever.
My fix will therefore be as follows: I’ll recut the mortises in my legs, assuming I can get the subassemblies clamped onto my slot mortiser. I’ll then remake the rails, but this time I’ll make the top rails thicker, increasing their dimension on the outside by 1/8″ and on the inside by 1/2″. That will significantly increase their bending strength (which is proportional to the width cubed) and double the thickness on the outside of the tenon.
As for the other Danish cord chair (I made two), I glued a stiffener to the inside of the rail. It’s 5/8″ (16mm) wide and 1/2″ (13mm) thick. Note the angled ends to clear the cord on the front and back rails.

This doesn’t fix the issue of only 1/8″ of material on the outer face of the loose tenons, but I’m hoping that by keeping the rail from bending as much it will minimize the chance of the rail breaking. We’ll see…
Update 12/18/2025 – the “fixed” chair broke about a week later, so I created a video to go over the issue in more detail. Watch it here.

Thank you for sharing such informative insights about chairs.
Ouch! Lots of (re-) work here. A shame.
The follow-on video ( https://www.youtube.com/watch?v=YnlnzEYjwl4) does no explaining, but does show the same 4 cord first front to back placements.
Copy or not, it works to hide an otherwise unsightly extra thick side member.
We can still learn from Wegner….. if we know what to examine.
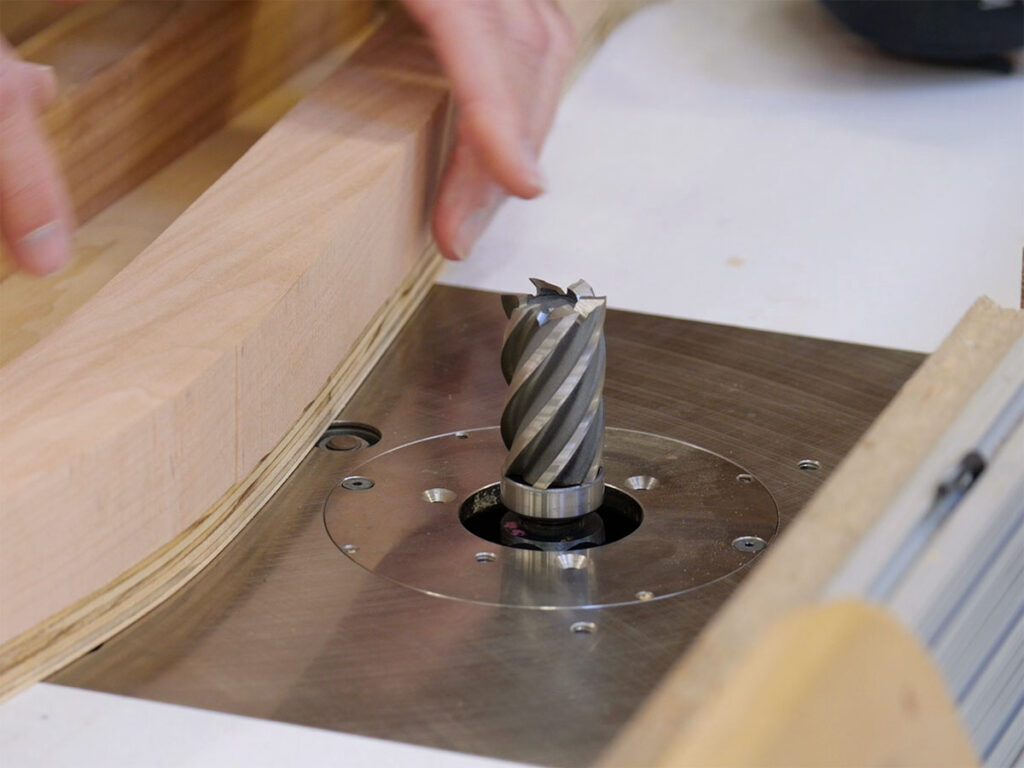
Interesting video. I like how he cuts the tenons!
It looks like you had the perfect opportunity to meld your two careers and minimize the repairs.
It’s sometimes a blessing and sometimes a curse. Worked out well this time!
A wonderful gift you have given to all of us – we learn not only from our successes but also our errors. We also learn from the successes and failures from others, especially the very talented who are willing to share their errors and projected corrections. You have reaffirmed that we are part of a community. Even though you are no longer teaching us at Cerritos, you are still teaching. Importantly to me, on my little workshop “to do” list for very near future is to make a piece using Danish cord. Thank you. May you and your bride have a wonderful holiday Season.
Thanks Tony! If you want the plans for the stool let me know; I have a SketchUp model, cutlist, and dimensioned drawing. It’s a pretty straightforward build.