Chair Horse Build Part 3
The build continues. I thought this would be the last part but it was getting too long. I’ll post part 4 next week. Things have been busy around here; we had part of the roof removed to replace some termite-damaged rafters and then we reroofed. Then I had to clean up, and paint, and…
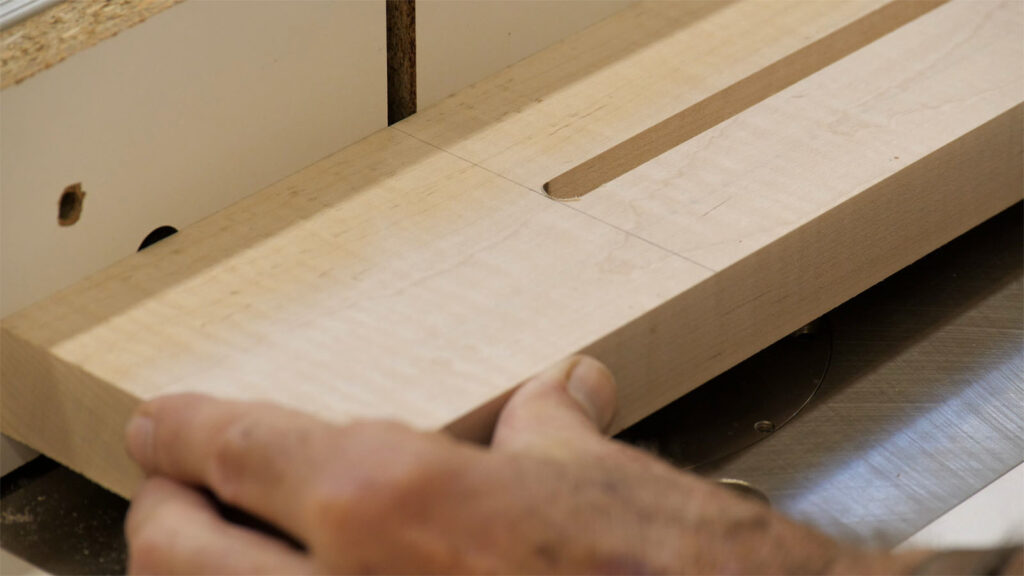
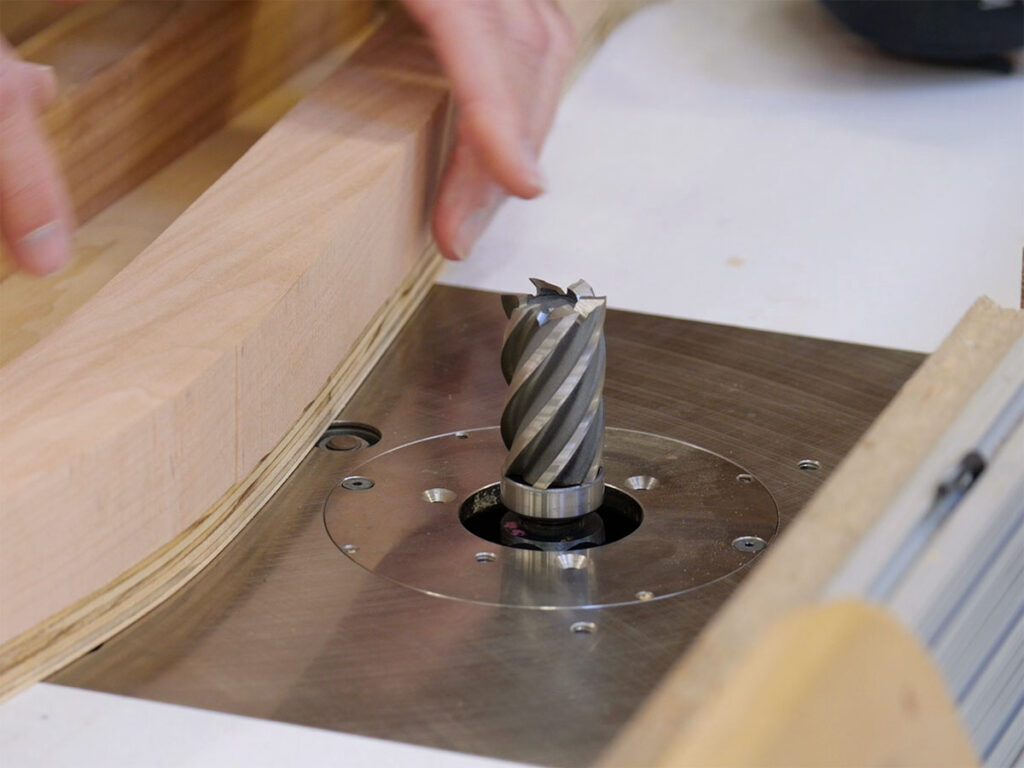
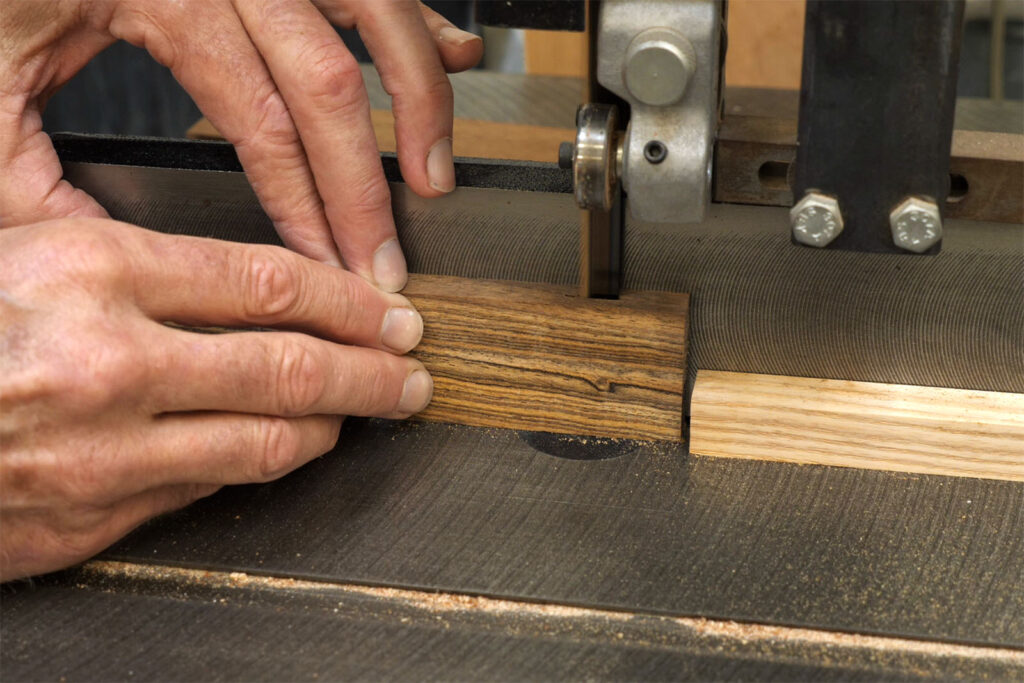
In this week’s video I build most of the sliding portion of the project. The first step is to make the 7/16″ slot in the sliding leg. When Nyquist did this, he created the slot using a glue-up. Each leg consisted of two “sides”, nominally 1″ x 1-13/16″ x 26″, and two 1″ x 3/8″ x 5″ spacers glued between the sides at each end. It worked fine but was much more fussy to get everything aligned, etc. I had forgotten about that option until I looked at my first chair horse and noticed the glue-up. Routing the slot is way easier, although not without some risk. It’s possible that routing the slot could cause warpage of the part, and some people may not be comfortable with the drop-cut process.
Based on my build over the last couple of weeks, I have updated the plan of procedure and the bill of materials. I’ll put another download link at the bottom. Minor stuff but a little more accurate now.
I hope your reroofing process managed to escape the rainstorms. So great that you are demonstrating this on video. When I built mine (almost 10 years ago), I had to come ask you for advice at every step. Including how to read a plan!
The roof was completed about about 1-1/2 weeks ahead of the storms. All good!