Lidded Box Part 3
I thought this would be the last part of this build, but it’s taking a bit longer than expected. Lots going on with my wife having shoulder surgery last Friday and dealing with the challenges of finding a suitable home for her aging father and prepping his home for sale in about a month.
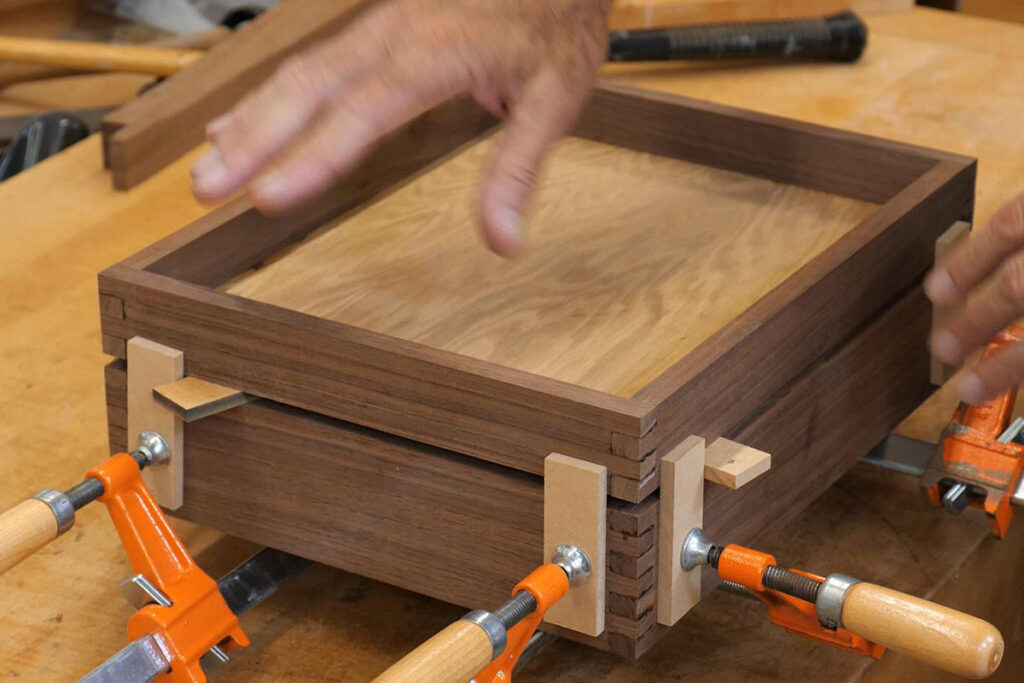
Getting organized and having a plan prior to a glue-up is essential to a successful outcome. When I was teaching, students often got so freaked out during a glue-up it made the process more difficult than necessary. If you are prepared, things rarely go so wrong that a project is ruined. Preparation and visualization of the process is key. Easy for me to say, I know, having done or helped with hundreds of glue-ups.
Here are some steps to a good glue-up:
- If a complicated glue-up, simplify if possible (fewer parts)
- Dry fit the assembly first
- Establish the most efficient order of assembly
- Check clamp location, clamp length, caul placement and use
- Prior to glue-up, place the parts to aid correct orientation and easy access
- Have damp paper towels ready to clean sticky fingers
- Visualize the process
- Apply glue to the most complicated areas first
- Work quickly but efficiently
- Stay calm!

Checking for square is really important for a four-sided project, whether it’s a door, a cabinet, or a box. Measuring the diagonals is typically the easiest and most accurate way to do it. Using a square can be misleading, especially if you put the clamps on too tight and create warped parts. Nothing will measure square in that situation, resulting in a lot of wasted motion.


Hi Carl. thank you for another great set of videos with nice tips. After being too stressed with glue ups and listening to Patrick Edwards in Tony’s woodworking appreciation class I tried Old Brown Glue and have been very happy with using it. It was nice to see that you use hide glue in this instance too. do you notice much of a difference between Titebond Hide Glue and Old Brown Glue? I’ve heard that the Titebond hide glue (because of low inventory turnover) may have a shorter shelf life. While I’ve adapted to using Old Brown Glue (I store it in the refrigerator and warm it up prior to use in a mini crock pot; I use the “warm up” time to do my dry fit run and it all seems to work out. However Titebond does seem like it is more convenient, as well as more easily available.
Anthony: One of the things that I like about hide glue is that the squeeze out is much easier to clean up.
I tried OBG a while ago (over a decade), but didn’t use it much and it eventually went bad, so it’s hard for me to compare. I have the Titebond now because (I think) I bought it for the Three-legged Stool project. It is easier to find, like you said. I think I bought it at Home Depot.
As for shelf like, I’m not sure about that either. I use regular Titebond most of the time, so I just don’t have a lot of experience with any of the hide glues. I’m sure the bottle I have now will go bad before I’m done with it…
Thank you Carl.
Do you have a recommended process for taking care of squeeze out? Yes, I know “use less glue” but.., How about staining / dying prior to glue up?
I almost always deal with squeeze-out after the glue is dry by sanding or chiseling it off. Trying to wipe off wet glue usually causes more problems that it solves. I only wipe wet glue if I have a surface that has been finished prior to the glue-up, and that situation rarely occurs.
If I do get squeeze-out where it’s not desired and will cause issues with finishing, I minimize the mess by using a chisel or sharp stick to remove as much as possible, then a damp cloth to remove the rest.
The best practice is to do like you suggest – use less glue. Knowing the right amount comes with experience.