Shooting Board

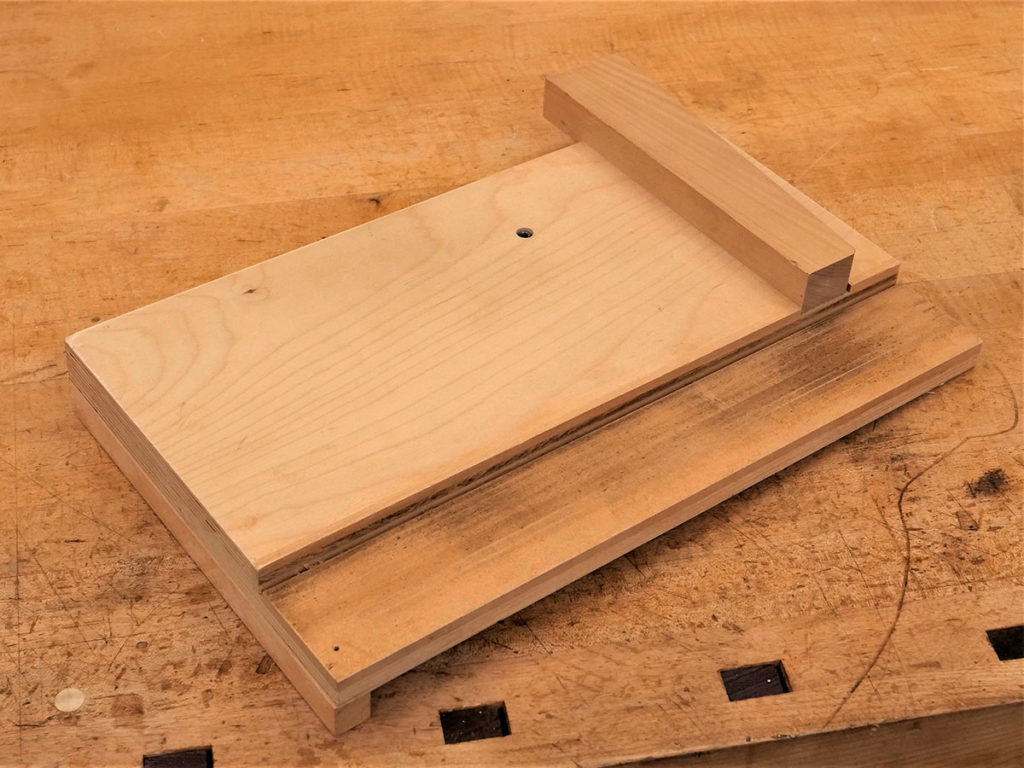
A shooting board can be very helpful to square up the end of a board or trim a board to a precise length. With the appropriate fixture, it can also be used to create miters or other angled cuts.
There are lots of plans out there for making shooting boards, but I really like the one shown here. First, it’s not adjustable. Some people might think that’s a disadvantage, but not me. Once this thing is made, it never goes out of square. If I need an angle other than 90 degrees, I use a wedge or shim.
Second, it is relatively easy to fix a gap between the fence and plane sole. Inevitably, you will rock your plane (especially if you’re new at this) and trim the end of the fence a bit. When that happens, your workpiece is not fully supported and you can get tearout on the back side of the cut. On most shooting boards, you would have to put another piece against the fence to eliminate the gap; some designs include a backer that slides into place to fix the issue. I prefer this design; you remove the fence (it’s a wedge), take a couple of passes on the tapered edge with a plane, tap it back into position, take a few passes with your shooting plane to trim it, and you’re good to go.
The base of this is very stable, using plywood for the sheet materials. The edge against which your plane rides is hardwood, so you’re not planing the plywood glue. The runner is MDF or, preferably, hardboard – dense, durable, absorbs wax, works great!
How to make it? Watch the video. The plan of procedure? Download it here. Note that the procedure is typical of what I created for my students when I was teaching. For now, I’m providing it free of charge. At some point that may change…
And, please accept my apologies; I shot this early in my video-making endeavors right after the Covid shutdown (March 2020), before I had a decent microphone and a two-camera setup. It works, but is not up to my current standards.


