Plane Tune-up 5
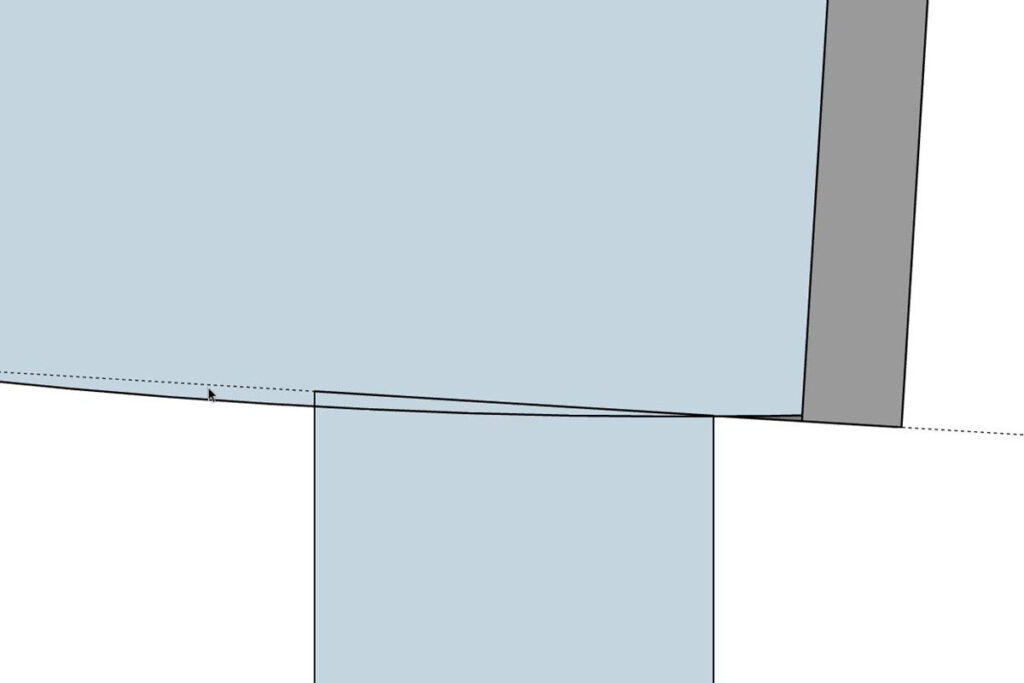
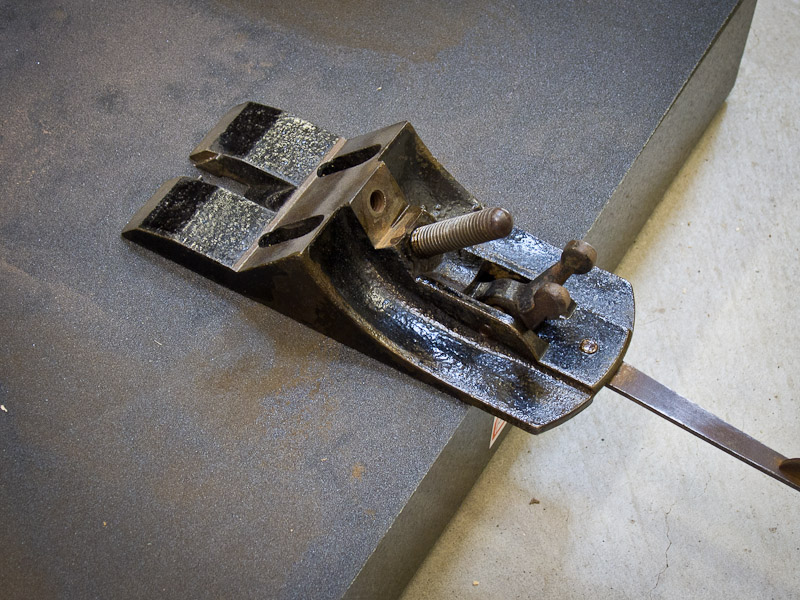
Next on the plane tune-up I’ll fettle the frog and clean up the hardware. The fit of the frog in the plane body is often not very good. The machining processes 100 years ago on a mass-produced item was hit or miss, so some fettling of the surfaces is often required. To check, place the frog in position in the body and see if it rocks. Quite often, it will not sit flat, but instead it will sit on a couple of high spots. While pushing down on the frog, slide it back and forth to see where it’s hitting. When you remove the frog, you will see shiny areas where high spots occur. My plane looked like this:
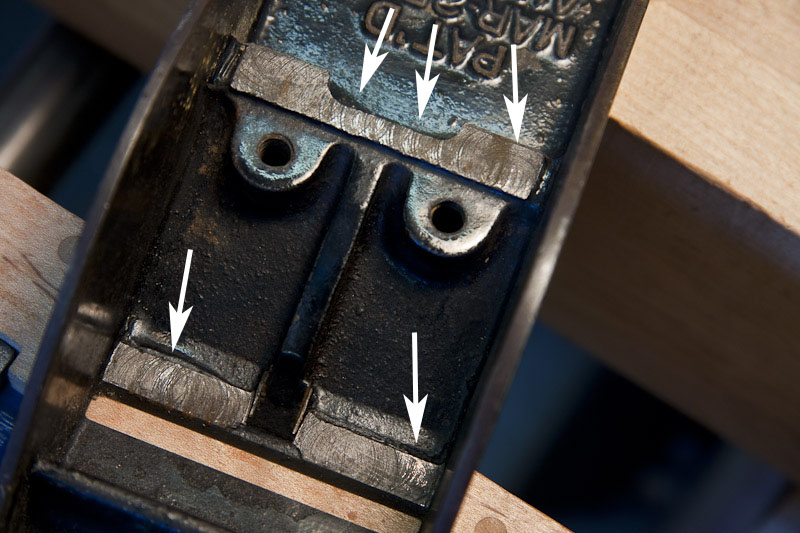
Note the roughness of the machining and the shiny areas (indicated by the arrows). It is a rare plane that does not exhibit this issue.
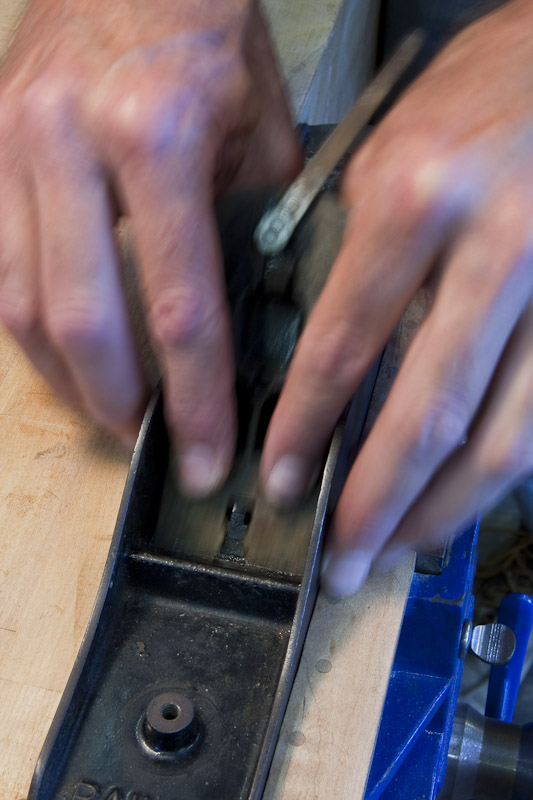
To fix it, I lap the frog to the plane body, To do that, I use 90-grit lapping grit, a few drops of oil, and some elbow grease. The lapping compound is very hard abrasive grit and can typically be purchased at an auto parts store. Lee Valley also carries it.
Lightly clamp the plane body in a vise, with the sole down. Put a drop or two of oil (any oil will do) on each of the surfaces shown above, and sprinkle a bit of lapping grit on each surface. A little goes a long way, so don’t overdo it. Then, place the frog in position, press down, and rub it back and forth. It will feel very gritty at first, but quickly smooth out a bit. Keep at it, checking every couple of minutes to check your progress. Depending on the amount of material you need to remove, you may have to add more oil and lapping grit.
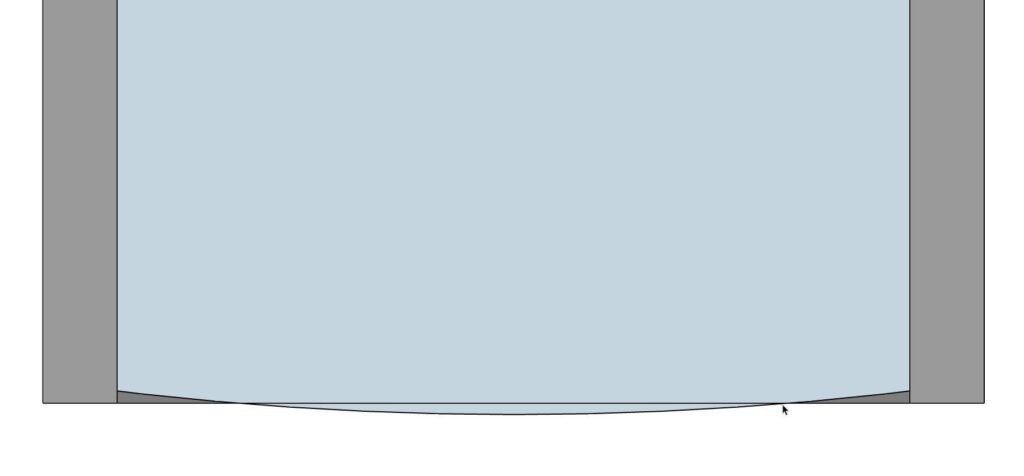
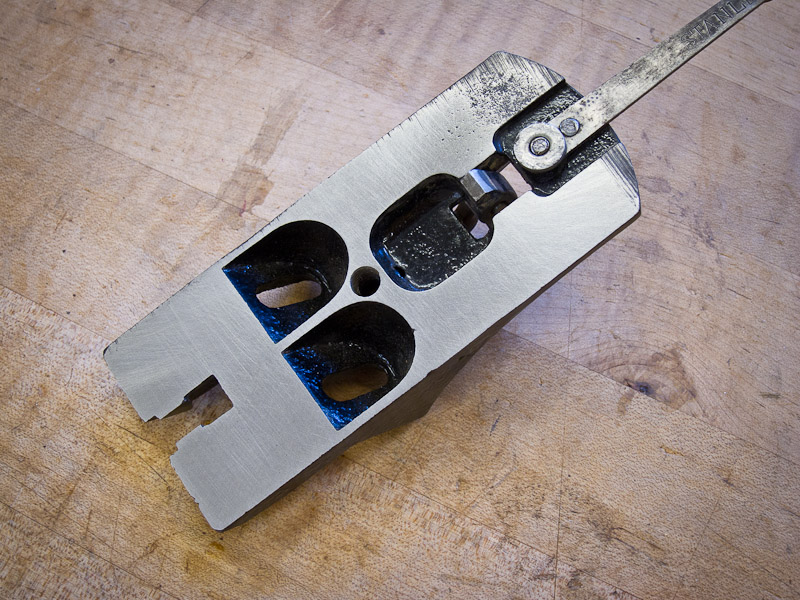
When done, the surfaces should look like this:
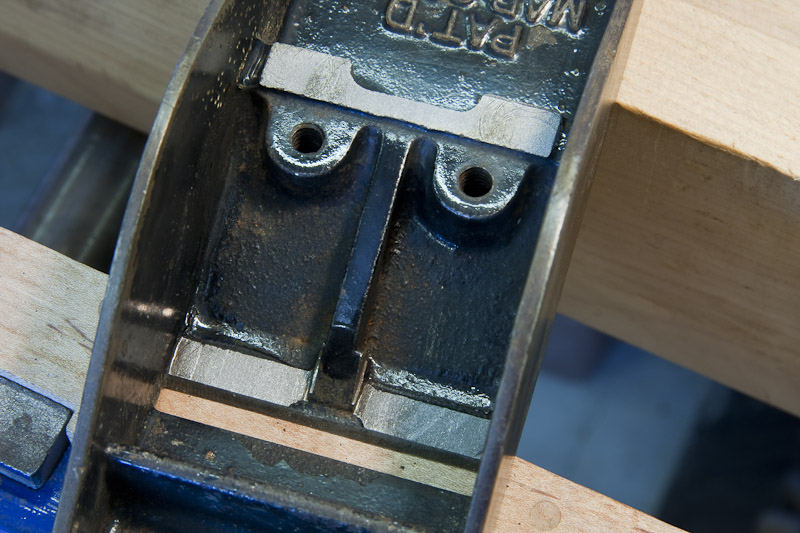
Note the dull grey surfaces, indicating that the frog has been lapped nicely to the plane body. Clean everything next, making sure you get all the lapping grit removed, especially in the threaded holes. Blow them out with compressed air, being careful to avoid grit flying out and hitting you.
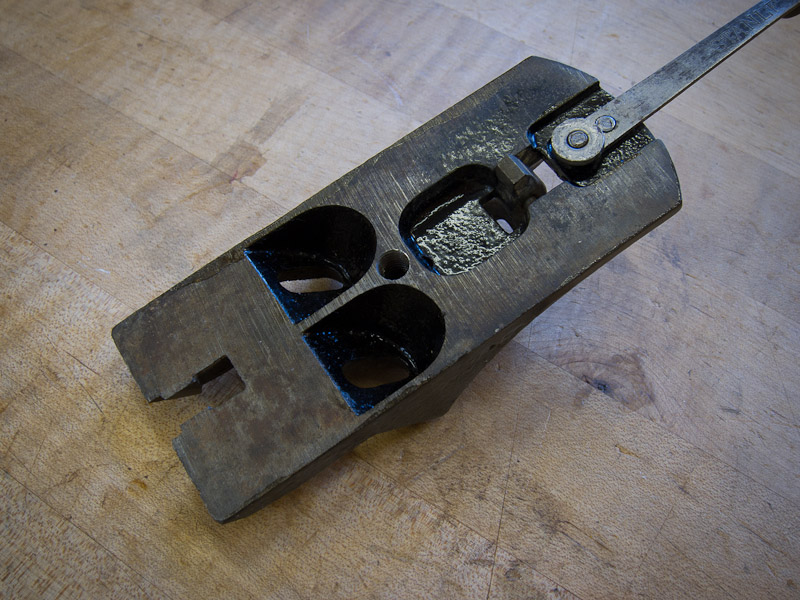
Next on the list is the bed of the frog, on which the blade rests. Here’s the frog before the bed is cleaned up:
The bed should be flat and smooth. I glue a piece of 100 grit sandpaper to a granite block (or other flat surface) and start sanding. The washer on the lateral adjusting lever will always be in the way when sanding, so I avoid it by sanding like this, with the washer hanging off the sandpaper. Sometimes the Y-adjusting lever doesn’t fold all the way down, so you may have to avoid it also.
To sand the areas missed, turn the frog to either side and finish sanding:

I typically sand up to 150 grit. When complete, the frog looks like this:
Looks great! The most important area is at the bottom, so I don’t mind missing a bit at the top.