Dining Chair Build Part 5
This post was a long time coming! Things have been busy since posting Part 1 of this build, the Part 2-4 videos didn’t need much explanation, and perhaps I’m getting a bit lazy…
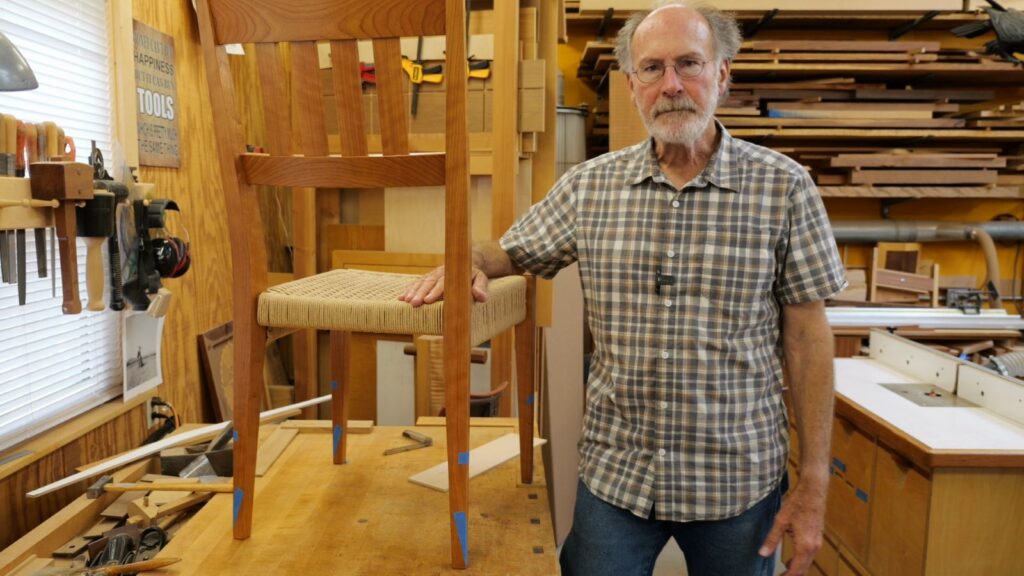
The chairs are complete…almost. I’m really happy with how they came out and I think they look and feel great…with one caveat. I had a couple of objectives in mind when designing them – make them more comfortable and make them lighter than the first pair. The first design (Chair 1) is nice to sit in, but the back angle is too upright for our taste. On Chair 2 I angled the back to about 13 degrees from vertical (an increase of about four degrees), which is on the high side for a dining chair, but it works.
I also changed the seat angle. On Chair 1 the seat is horizontal. On Chair 2 I angled the seat about one degree so the back is about 1/4″ lower than the front. It’s not much but it makes a difference. Better.
Finally, I wanted to lighten the chairs. Chair 1 weighs about 13.8 lbs. By thinning all the parts and changing from an upholstered seat to the Danish cord, I was able to get the weight down to 9.9 lbs, a pretty significant savings. The chair is much easier to move around and feels “normal.” Chair 1 feels like a heavy chair.
Why are they “almost” complete? The chairs are too low; when you sit at our dining table (30″ high, typical table height is 28-30″), you definitely feel like you’re too low. I figured that the Danish cord would sink about 3/4″ from nominal when you sit down and I thought I had taken that and other dimensions into account, but apparently not. When you sit in Chair 1 your butt is about 18″ off the floor (after compressing the cushion); in Chair 2 you’re at about 16″. Yikes! I really blew it. My next video will show how I fix this (and no, I’m not going to lower the height of the table).
A few notes about the build:
You may have noticed I had the front legs of the chairs clamped to my chair horse while weaving the seat. That was the only way I found to get the chair seat at a good height to do the weaving. Putting the chair on my workbench would have been too high and the floor was too low. Resting the rails on the chair horse and adjusting the horse to a good height would have put the seat at a good working height, but then I couldn’t wrap the cord under the rails. The solution I came up with worked out well; the chair was at a good height and was locked in place so I could pull the cord tight as needed.
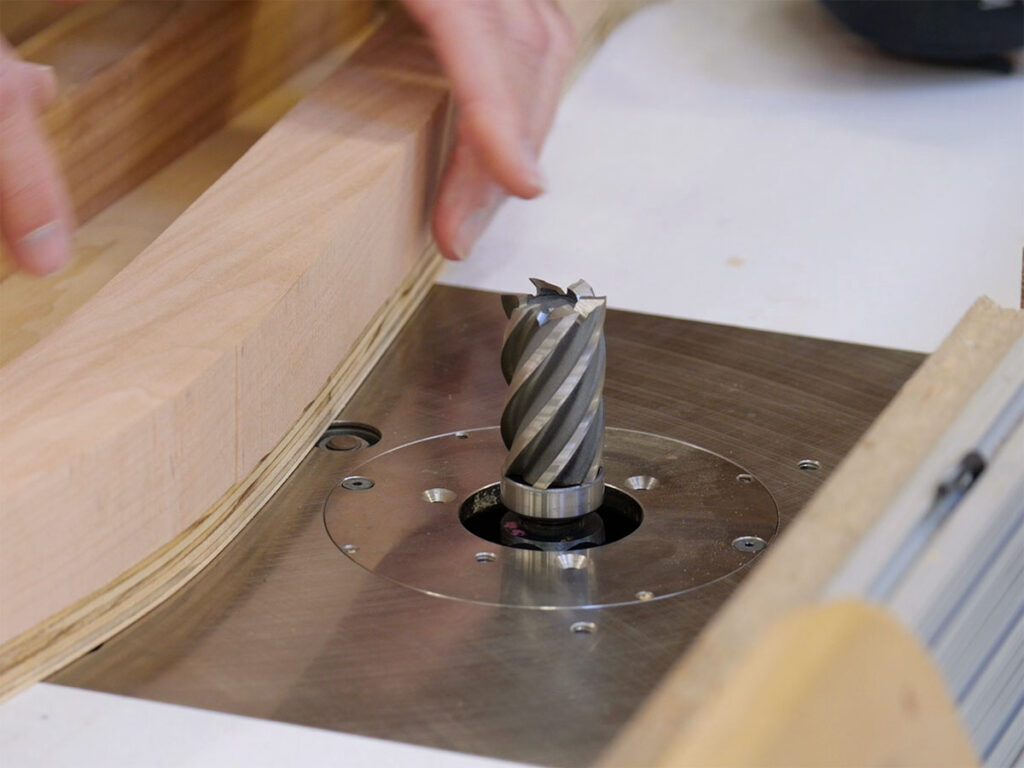
The roundovers on the rails could have been larger. When wrapping the cord around the rails, it didn’t always follow the contour of the profile as well as I would have liked. That may be partly due to using unlaced instead of laced cord like I did on my stool. If I did this again, I would use at least a 3/8″ roundover on any profile that gets wrapped.
I would use laced cord next time; it looks a little better and seems to make for a little tighter weave. I have previously mentioned that I used unlaced cord because I had a two-pound spool on hand when I started. According to most of what I had read, that is enough to do a chair seat, so I was going to do the first chair with the unlaced cord and I bought a spool of laced cord for the second chair. I thought it might be nice to have one of each for comparison. But, I ran out of cord before finishing the first chair (prior to shooting the video). I therefor had to buy another spool of unlaced cord to finish the first chair, and an additional spool of laced cord to have enough for the second chair. Too much cord! I exchanged the laced spool for an unlaced spool, and bought another spool of unlaced for a total of three. Now that both chairs are complete, I have about 60% of a spool of unlaced cord left over. It’s all good!
Link to David Johnson’s website
Here are some photos of the chair I worked on in the video: