Console Table Build Part 4
Next up is tapering the legs. The amount of leg taper is a tricky thing; I find that it’s difficult to get it right without a full-scale mockup. It never looks the same in a computer model when viewed on a 2D screen and even a mockup can be deceiving at times; subtle changes can make a noticeable difference.
With that said, this is not about design; it’s about laying out and cutting the tapers. The layout is straightforward – just draw the appropriate lines.
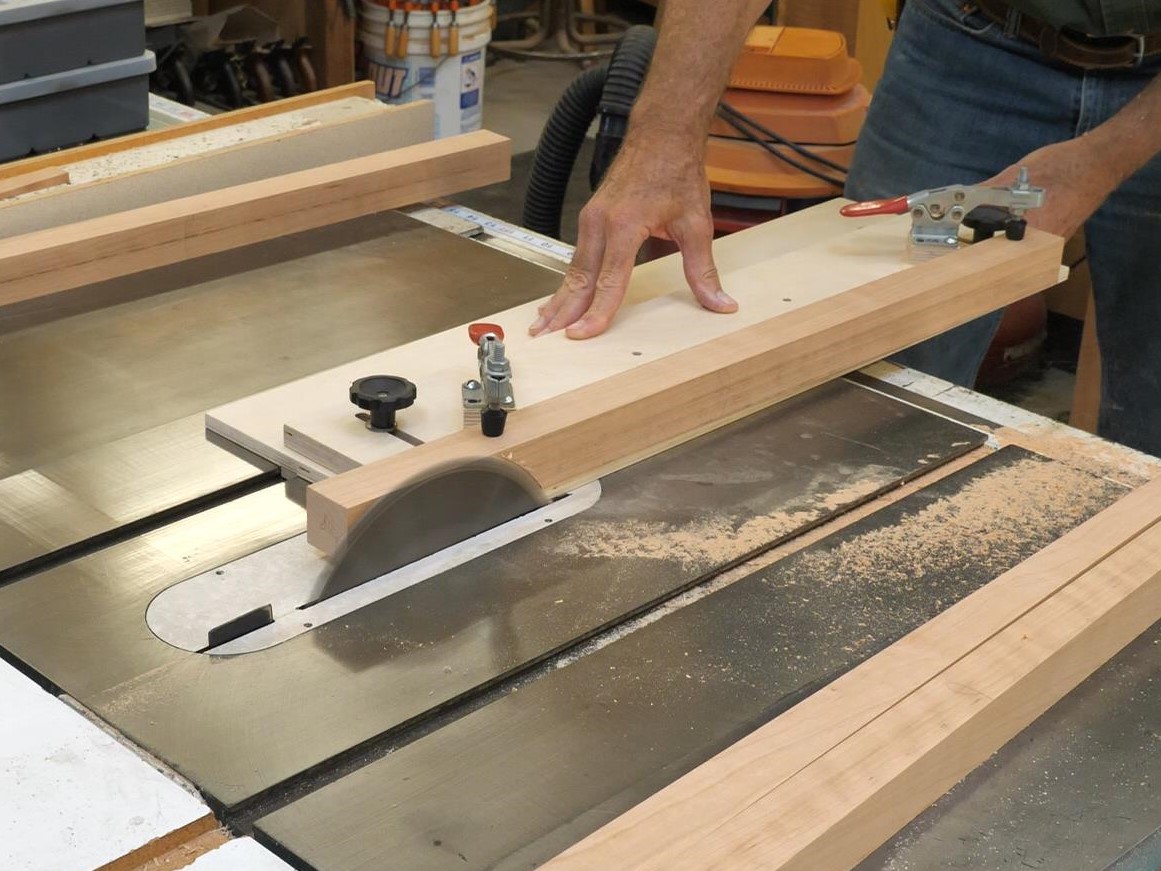
Cutting that narrow angle is next. When I was teaching, I taught a course on jigs and fixtures. Early on, my go-to taper jig was one I had come up with, similar to what you can purchase:
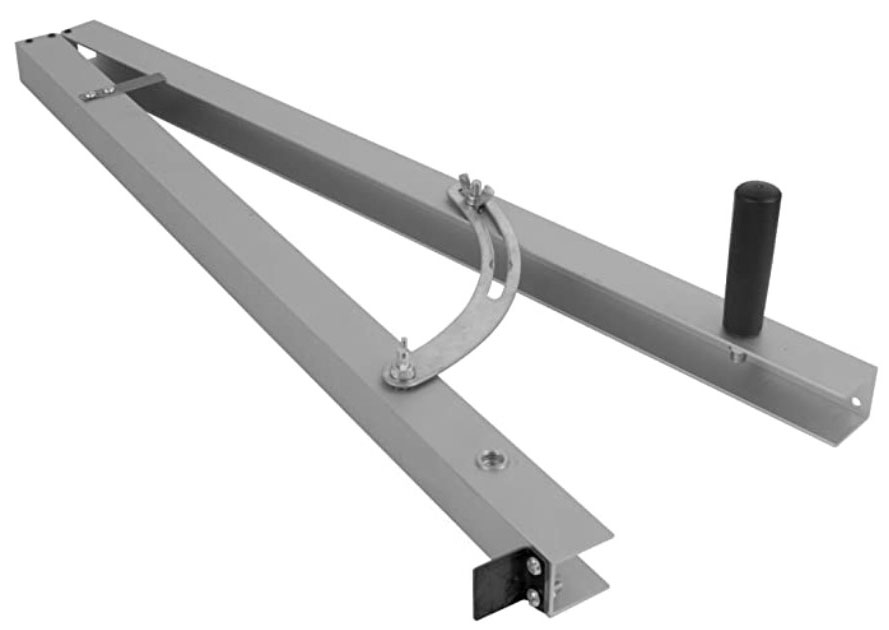
But I didn’t like how these kinds of jigs worked. You’re supposed to locate your stock on the left side of the jig, against the stop, push the jig (against the fence) through a table saw using the handle, and the stock magically stays against the rail. Right… The forces involved make no sense and I’m amazed these things work at all. I turned the thing end for end, with the large end forward. You then push the stock, with the jig between the stock and fence.
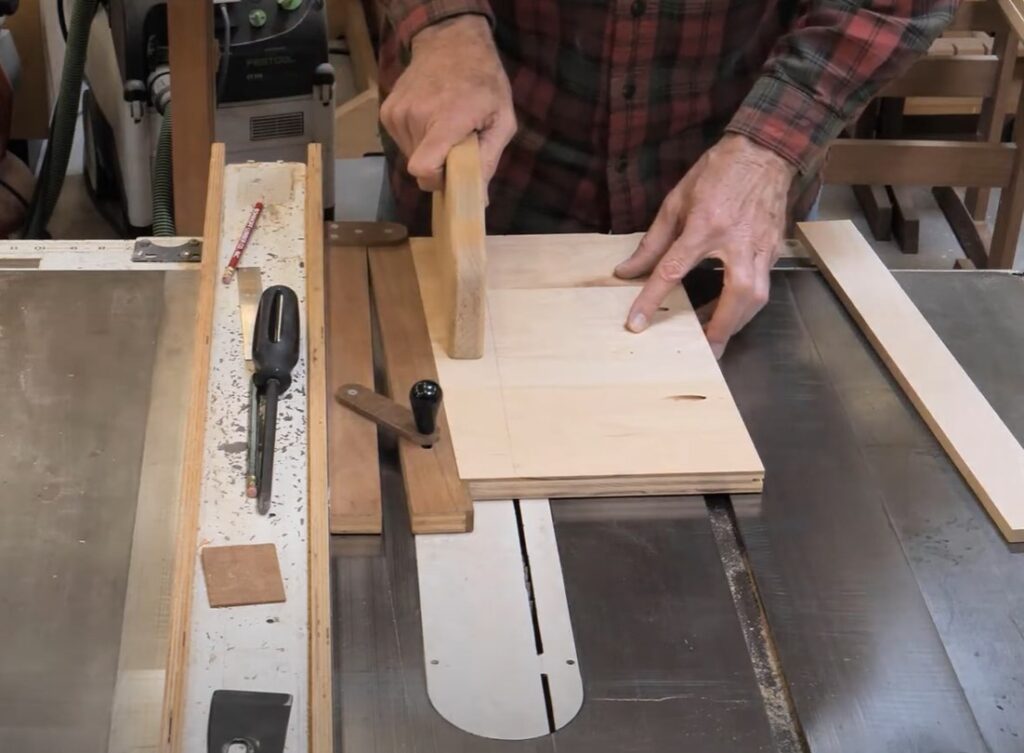
This works well but it’s a little tricky to use. You really have to pay attention to what’s moving what, and the jig length has to be similar to the stock length.
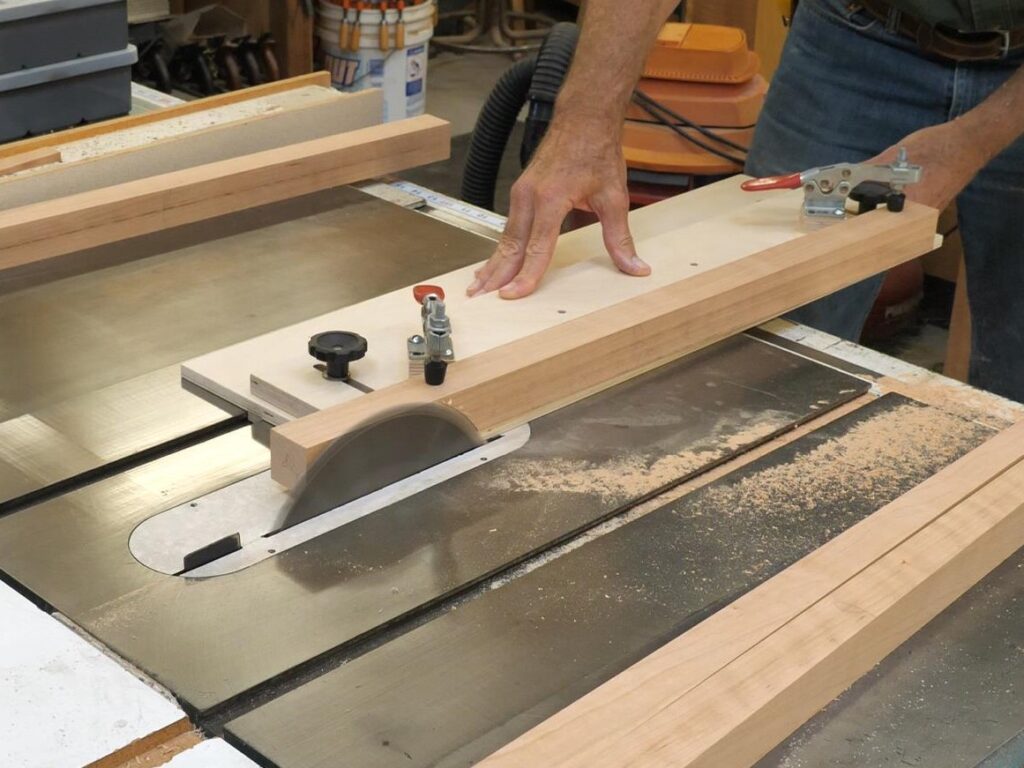
For my table legs, I used a more complicated but safer jig. While writing this, I searched the web for taper jigs and found that most of the jigs are now like the one I use in the video, not like the one at the top of this post.
My “fancy” jig, which I made, was based on one I saw somewhere (probably one a student brought in). It’s a great jig, easy to set up and very safe to use. The only real downside is that the stock sits on top of the base, which means you lose a bit of blade height. Not typically a concern but a drawback on occasion.
On another note (assuming you’re still with me), I’m curious if the length of my videos is working for you. I’m always trying to strike a balance between delivering the content and keeping your interest. I could have made this video twice as long if I included cutting the mortises, but I thought that was a bit much. Let me know your thoughts in the comments below.
Hi Carl, Love the videos. Videos of a single step would make it easy to review a part of the process. I would be fine with longer videos. I notice on some youtube posts that there is indexing to move you to specific parts of the video.
Thanks for the feedback. I have, in some of my previous videos, provided index points for reference. I thought about it for this series but got lazy and decided against it, but I think it does make sense in this case. I’ll include them in the future.