Console Table Build Part 3
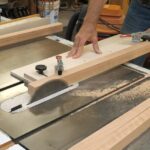
The front apron is unique in that the grain in the drawer front runs continuously through the part. In order to do this without large gaps around the drawer front, the apron must be cut apart, the drawer front removed, and the parts glued back together. It sounds more difficult than it is.
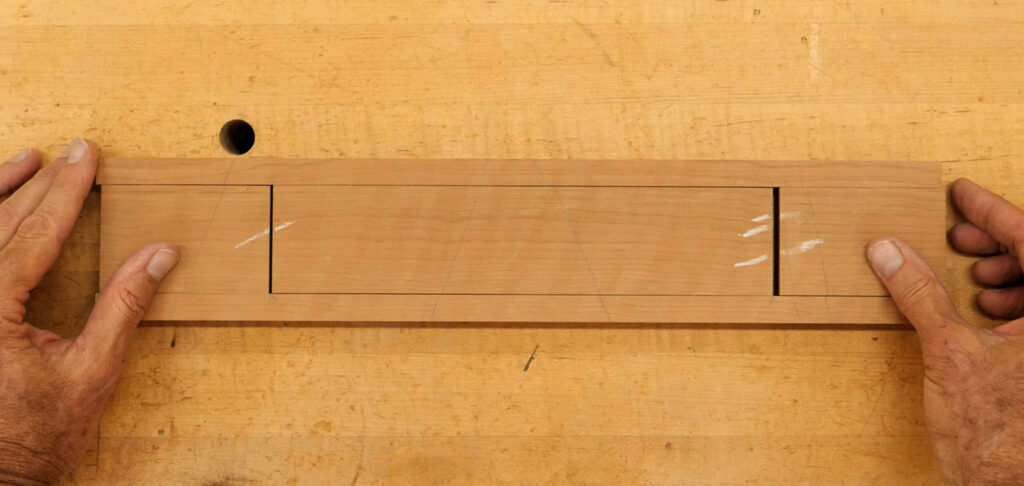
Even if you didn’t want the grain to be continuous, it would be a challenge to cut a rectangular hole out of the apron. Doable, but difficult to really get a clean hole with straight edges and square corners. This method makes it easy.
Another way we taught this at Cerritos College was to leave out the upper part of the apron. In that case, the top of the drawer is guided by the bottom surface of the table. That works, but I was never a fan. The apron is much more fragile* and flexible, and the fit is now dependent on the fit of the top. Also, the apron is very weak and provides virtually no support for the top. It’s a little easier to make, but I don’t think that makes up for its weaknesses.
Watch how I create the apron here.
*I will never forget the student who used this stretcher design. His skills were fair-to-poor and his joinery was too tight. He used a bar clamp, centered on the apron, to push together his front apron/leg assembly, which refused to go without a fight. That narrow piece on the bottom could only take so much as it bent into a crooked smile. It eventually gave up with a loud crack as it broke in two.
 Next Post