Console Table Build Part 2
Milling, or S4S’ing, parts is a fairly simple process if you have the machines. I assume most woodworkers know the term S4S, but for those not familiar with the terminology it means surfaced four sides. The process starts by clearing the cracks from the ends of a board and cutting it to rough length. Then, the largest surface is flattened on a jointer, the part is run through a planer to get the opposite face flat and parallel to the first, an edge is jointed (flat and square to a face), the part is ripped to width (plus a little extra), and that ripped edge is smoothed on a jointer. The order and number of steps can change a bit depending on the circumstances, but the output is the same – a board that is surfaced on four sides.
To cut it to length, one end is squared, then the other end is cut to the desired dimension. When I was teaching, we referred to the process as “The Eight Steps to Squaring Stock.”

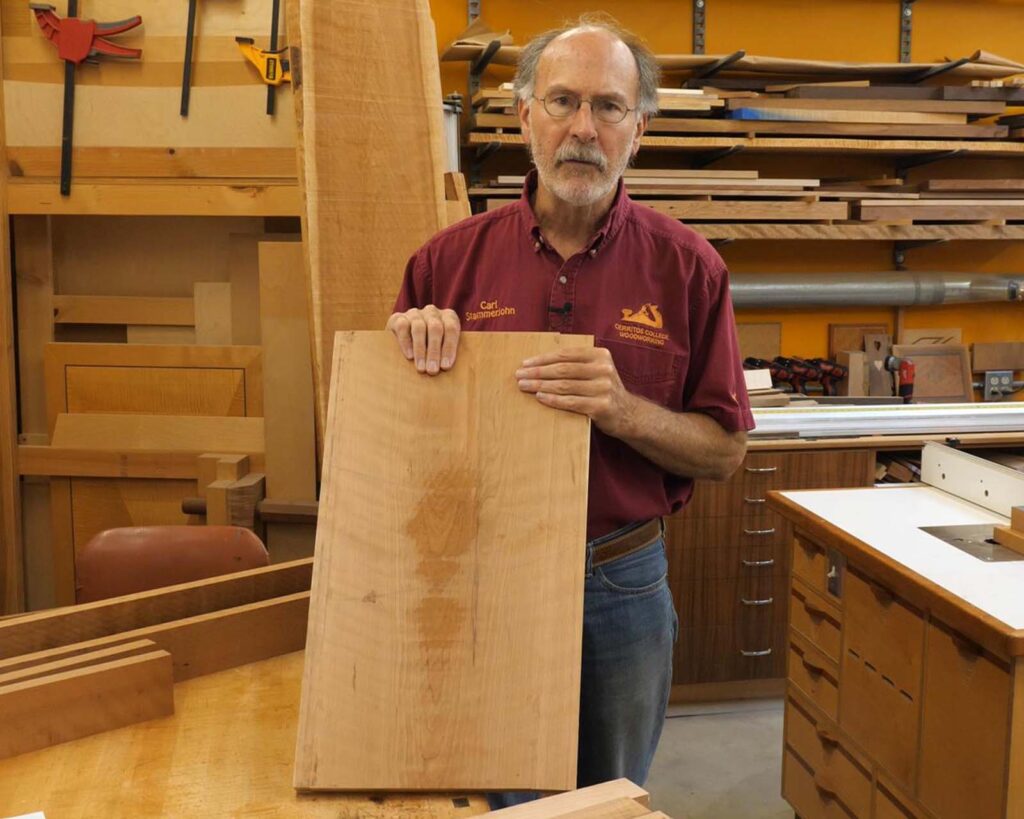
When I glued up my 13″ x 22″ top, I had available to me the machinery at Cerritos College. We had an amazing shop that included a 16″ jointer. In my home shop, I have a 12″ jointer/planer combo machine (Robland XSD310). That’s bigger than most, but still not big enough to handle 13″. I suspect most woodworkers have, at most, an 8″ jointer. So, what are your options?
I this situation, I had an 11″ part to which I glued narrow pieces on either edge. Here are the steps I would take:
- Plane the center piece to final thickness, 3/4″.
- Plane the edge parts to 13/16″ (1/16″ thicker).
- Glue the parts together. I would not use biscuits, tenons, or dowels for alignment, as I might cut into them when cutting the top to final width.
- Use a hand plane to get the edge pieces flush to the center piece. This would be relatively easy, since I would have the center piece for reference.
If I had a 6 or 8″ jointer, I would do the following:
- Cut the 11″ piece roughly in half. Align the cut such that when it is glued back together the visibility of the joint is minimized.
- Plane the two halves to final thickness.
- Using biscuits, tenons, or dowels for alignment, glue the halves back together. Since the joint is in the middle of the top, there is no chance you will cut into them (assuming you stay away from the ends).
- Finish as above.
Of course, you could also use handtools for the whole process.
In this week’s video, I go over milling the legs. Because the thickness and width are equal, it’s easy to create an out-of-square part. How do I know that? Because after teaching for twenty-plus years, I saw it happen many times.


