Marking Gauge Part 2
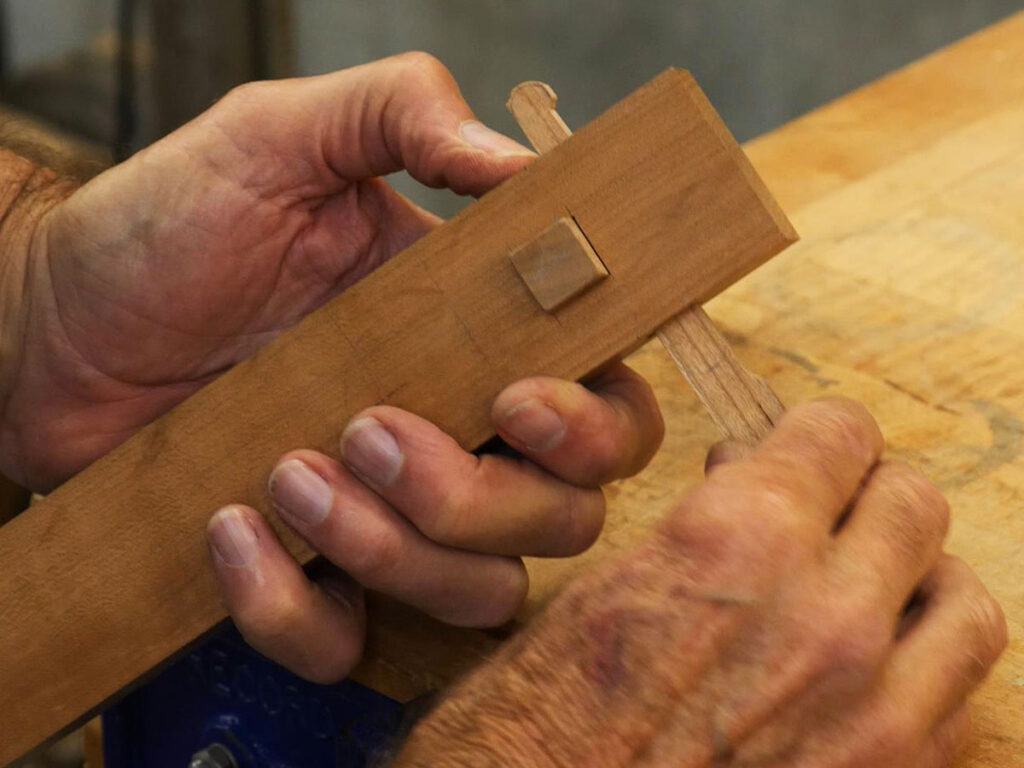
Finishing up the marking gauge involves creating the wedge and grinding/installing the pin. The wedge is a little tricky. If you make it to the dimensions on the drawing it may be too narrow and that means it won’t work. It will go in too deeply and stick out too far on the small end. That’s what happened to me on this one. I got it right on the second try, but that night I came up with a smarter way to do it. That’s what you see in the video.

I don’t know why I never came up with that idea before, but there you go…
Grinding the pin is also a little challenging. I’ve done it so many times I forget how difficult it can be; students really struggled with it. I don’t mention it in the video, but when creating the conical part, I find it best to NOT create it by rotating the pin while it’s against the grinding wheel. That is very difficult to get right. As I demonstrate, touching the wheel intermittently as you turn the pin works much better. It’s easier to control and will typically get you much better results. YMMV.
If you are creating a traditional gauge, as opposed to a knife gauge, you want a fully conical pin. In that case, just chuck the pin in a drill and grind at the appropriate angle, maybe 20 degrees, while the drill spins. Easy-peasy.
I’ll show that in my next video, where I’ll also show you how to make a mortise gauge. Same head, different beam.


