Lidded Box Part 4
Final post in this series – sand, install hardware, remove hardware, finish, re-assemble.
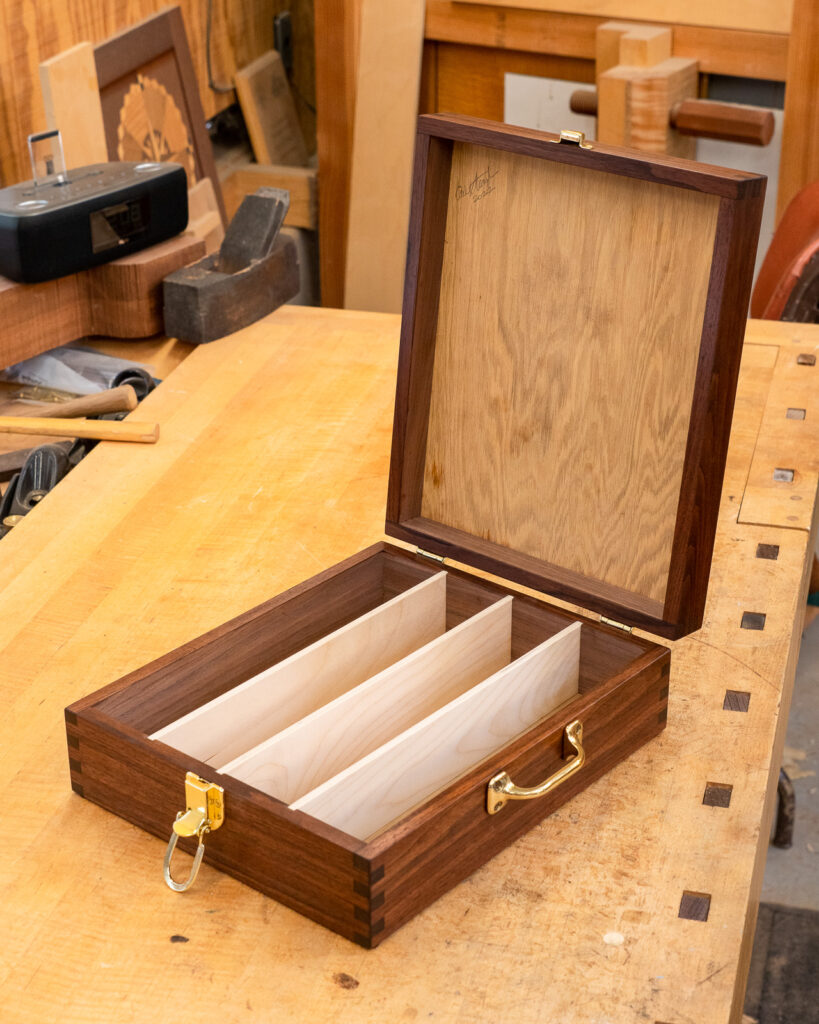
Installing hardware can be challenging at times; this was pretty straightforward. Note that using a piece of wood to locate the hinge was really helpful. As I state in the video, taking the time to create whatever is necessary to ensure success is typically worth it. There were so many time when I was teaching when a student didn’t want to take that extra step, whether it took two minutes or twenty, and it cost them hours of work when things didn’t go well. It’s always a judgement call and will depend on the complexity of the procedure, your experience and skill, and the cost of a potential mishap. Think about it before proceeding.
The finish was an oil/varnish blend: one part each of boiled linseed oil, gloss polyurethane, and turpentine. I avoid mineral spirits now, since (as I have mentioned previously) it’s difficult to impossible to find the real thing any more. I went a little light on the turpentine to get the mix to build more quickly and used four coats. It looks great.
My sister was thrilled with the box. She texted me a photo of her and her coworkers celebrating its completion – and a request to make another box for some military coins. I charged my sister for materials, but another box for someone else? I’d have to get something for my time and I’m sure whoever wants the other box is not willing to pay me for that. Even if I cranked it out in a half day, which would be pushing it, I’d want to charge $200 for my labor, plus another $30 or so for materials. I can’t imagine someone willing to pay for that, and I have plenty on my plate already. At this point in my life, if I make anything to sell, it would most likely be something I make on spec or for my YouTube channel.
