Plane-adjusting Hammer Part 2
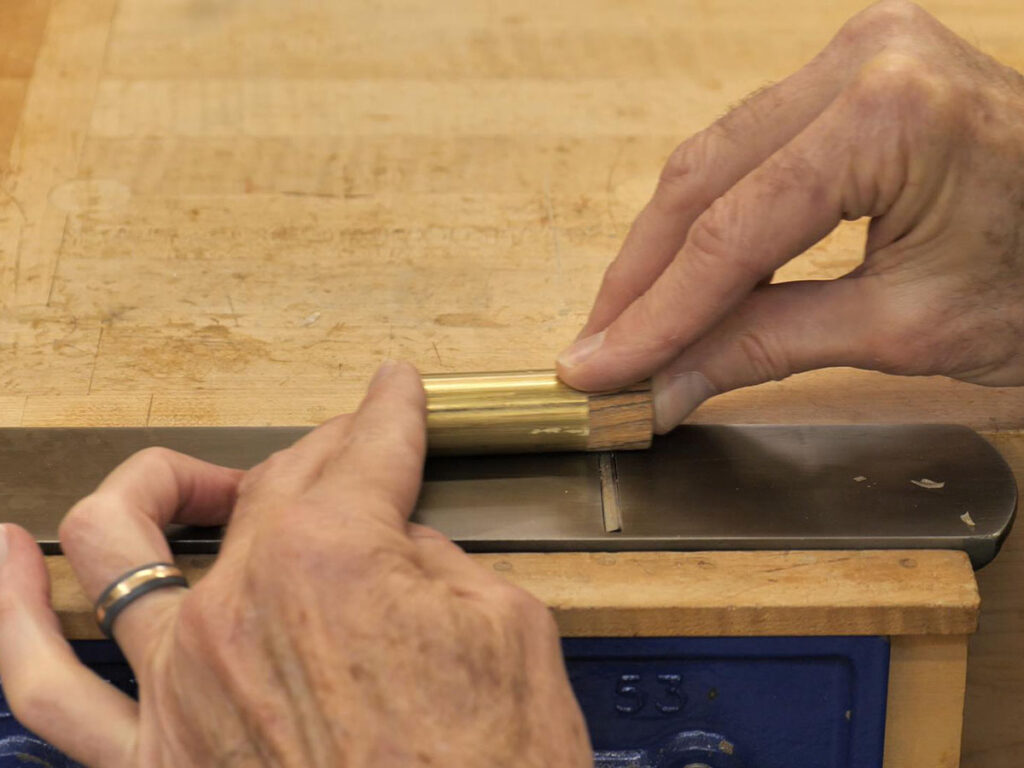
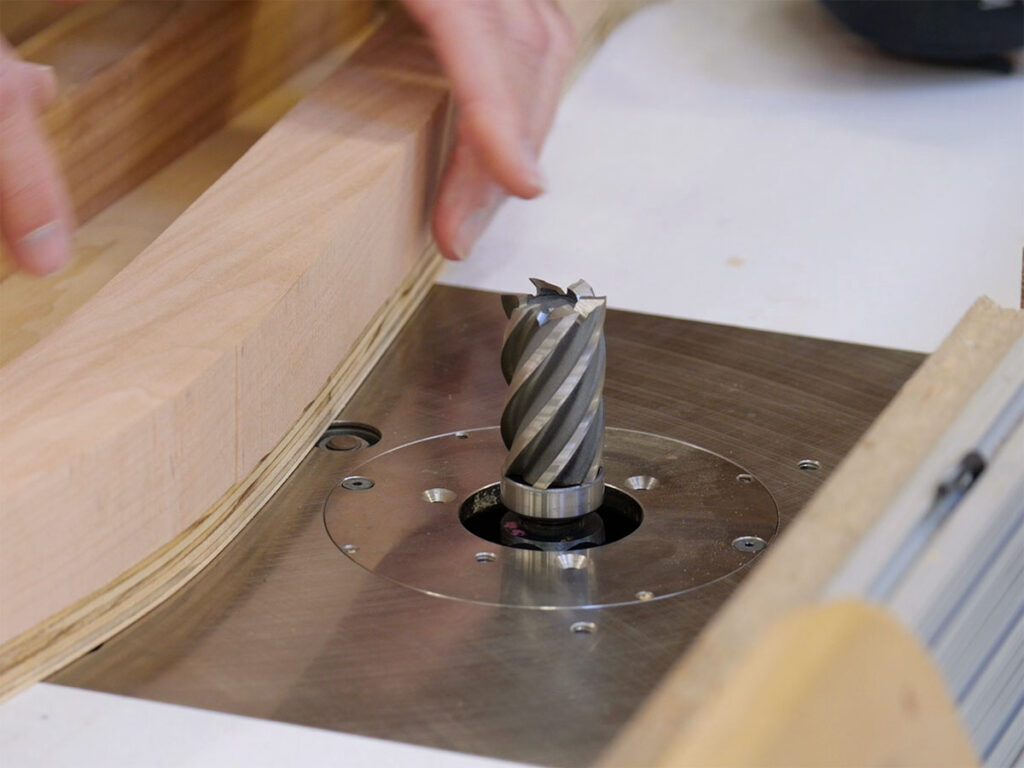
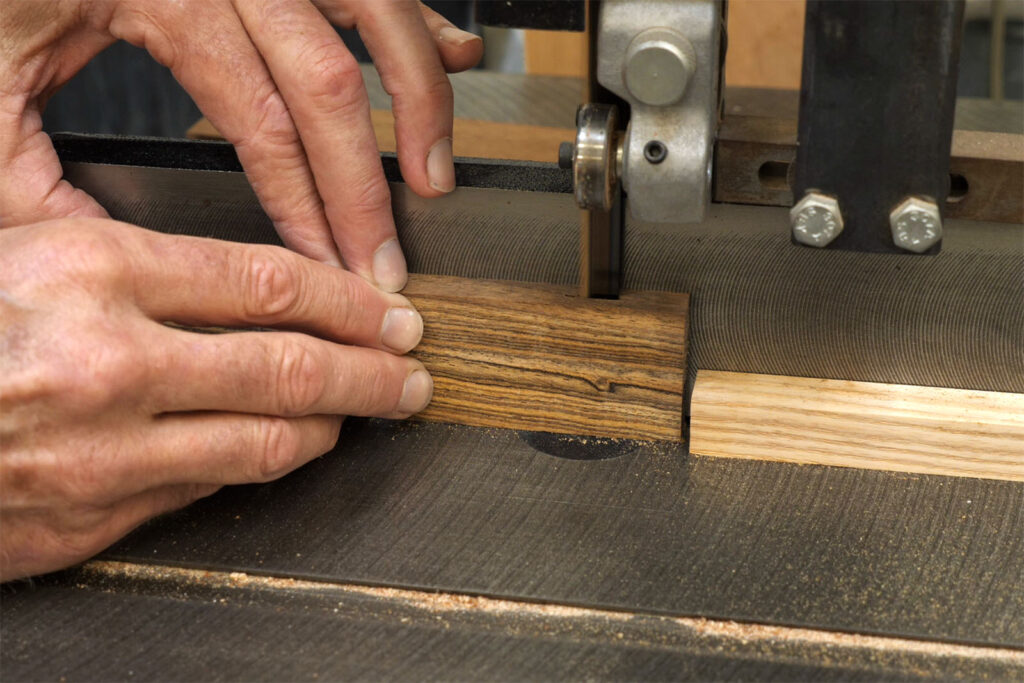
Finishing the head is next. We need to get the wood flush with the brass and drill the hole for the handle tenon. Pretty straightforward stuff, but there are always tips and tricks to make things easier. In this case it really helps to have a lathe with a four-jaw chuck, but it’s not required.

There are a few things to watch out for, based on errors I saw students make in my classes (or errors I made early on). Be really careful not to taper the wood; it’s easy to do and makes for a head that doesn’t look right. It will function fine, but you may not be happy with the aesthetics. Be cautious when sanding to minimize deep scratches in the brass; they can be difficult to remove. Use a sharp drill bit when drilling the tenon hole; a dull bit will make a messy exit hole which can make it very difficult to remove the head from your jig.
This video was created for my class, in which students had access to my jigs. My jigs were made to be used many times, so that’s why I used a drill bushing in my head-drilling jig. If you are making one or two hammers, you can get away without the bushing. Carefully lay out the 3/8″ and 7/8″ holes in a piece of hardwood (~1-3/4″ x 2-1/2″ x ~10″), drill them as accurately as possible to ensure they are located correctly, and use that. It will work fine for one or two uses (maybe more if you’re careful).
See part 1 to download the plan of procedure.


