Wood Plane Modifications
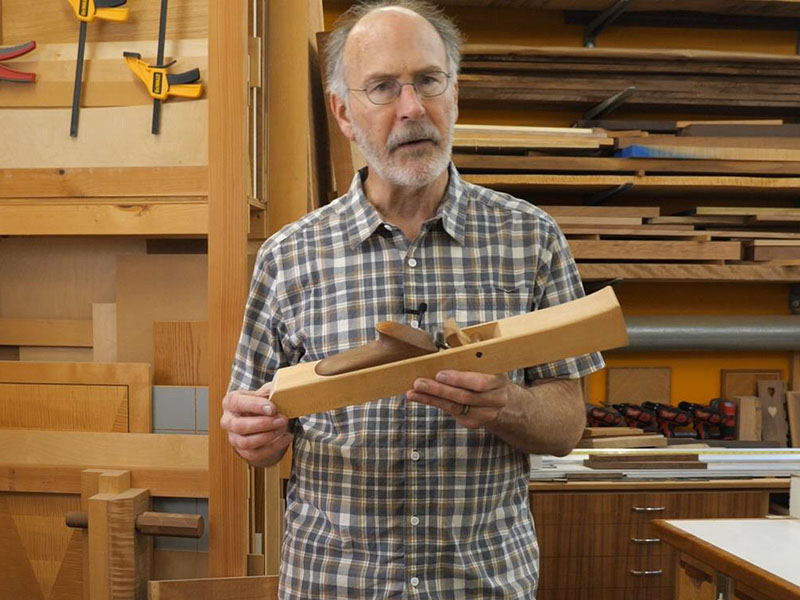
Building your own plane gives you the opportunity to change its characteristics to suit your needs. Your options include blade width, plane length, cutting angle, body shape, and materials. For most planes, I find a blade width of 1-1/2″ or 1-3/4″ works well. Hock also makes 1″, 1-1/4″ and 2″ blades, but I wouldn’t use them unless you have a unique situation. The smaller ones are quite narrow for most uses, and the 2″ blade makes for a very wide plane. Remember, the plane sides add about another 3/4″ to the width of the plane, so given how these planes are held during use, that’s a lot to wrap your hand around. With that said, I did use a 2″ blade in my shooting plane, but it is held very differently than a typical plane.
Choosing the length of your plane is not much different than any other plane – short planes for smoothing, medium length for roughing or general use, and long planes for straightening. Because of how a wood plane is held, you can make a smoother that’s as short as about 7″. That makes for a very intimate grip on the tool.
As a plane gets longer, holding it comfortably gets more challenging. A slanted or curved back does not work as well, since the surface is almost parallel to the sole. In that case, it’s helpful to have something physical to push against instead of just gripping the sides of the plane more tightly. That’s why I added a “handle” to my jointer plane.

The other challenge of a longer plane is keeping it flat. My granite surface plate is too small to flatten the plane shown above, so I would have to use my jointer table with a strip of adhesive sandpaper stuck to it. That works if you have the surface and the sandpaper, but would be a challenge without them.
The species of wood you use should be hard and stable. I have made or my students have used beech, birch, hard maple, Bocote, red and white oak, and purpleheart, among others. Definitely avoid woods that are not totally dry. I had a student long ago that had a nice blank of some exotic hardwood, covered in wax. I had to inform him that it wasn’t dry, hence the wax to keep it from drying too quickly and cracking. I think he ended up using it anyway (it didn’t work out well).
Being able to choose a higher cutting angle is probably one of the most desirable modifications. Pretty much everyone has a 45-degree plane, so a higher angle can be helpful to tame nasty figure. Changing the cutting angle is as simple as changing the angle on your chop saw, but there are some things to watch out for as you go over about 55 degrees.
Watch the video to see how (it may not be as simple as you think).


Hi Steve; good to hear from you!
Yes, I have added an insert to a plane. You can see it in the plane I cut in half to show a cross-section, shown in this video – https://youtu.be/PHT2mvZpHMQ?t=267. The insert is about 5/16″ thick, with the grain running the same direction as the rest of the plane. I routed out the cavity and made an insert to fit. I didn’t quite understand your question, so I hope that answers it.
Thanks, Carl. You answered my question. Sorry I wasn’t more observant while watching your video the first time. Your videos are spot-on, as usual. Please keep them coming. I’ll certainly be tuned in.
-Steve
Carl, Have you ever added an insert at the mouth of the plane to provide for renewing a worn base/mouth in front of the blade? Which would you recommend: a cross-grain insert in the base; or an end-grain insert in the front block?