Krenov Wood Plane Part 4
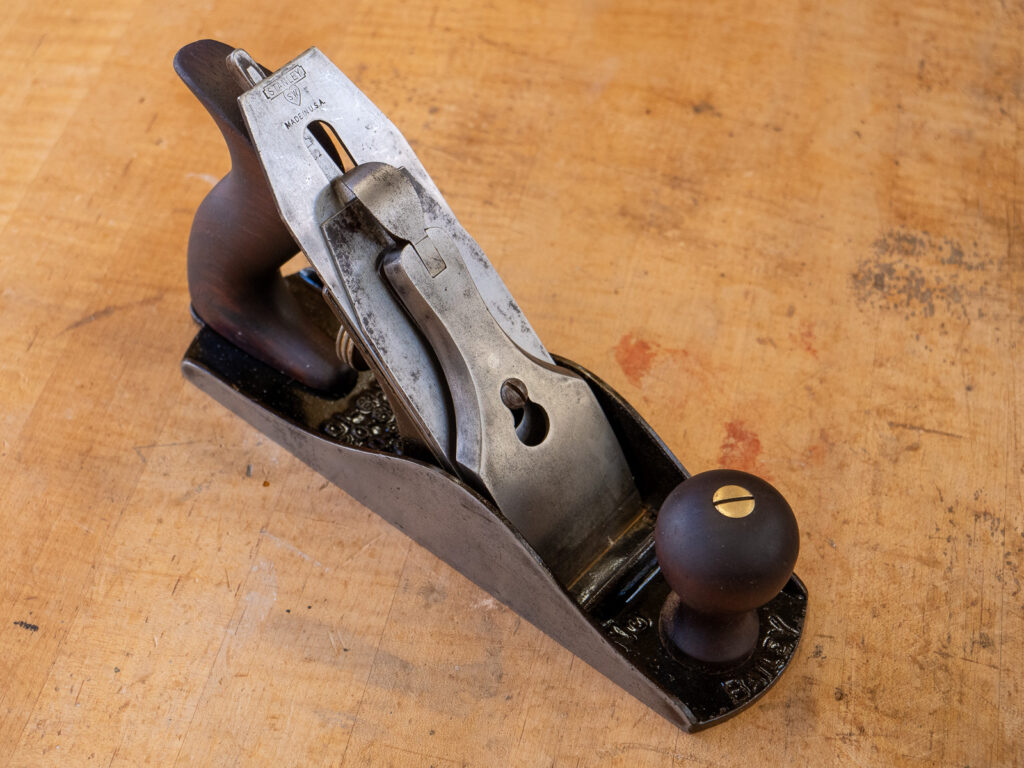
Now that the body has been glued up, surfacing the sole and making the wedge is next. We make a rough wedge to start, inserting it into the plane to tension it while surfacing the sole. I create the 1:8 wedge angle using my disc sander. I realize not everyone owns one, so some other options include a belt sander (tricky), or hand-planing. The latter will be a challenge due to the short surface, so using a long plane with the back end supported in some way would be helpful.
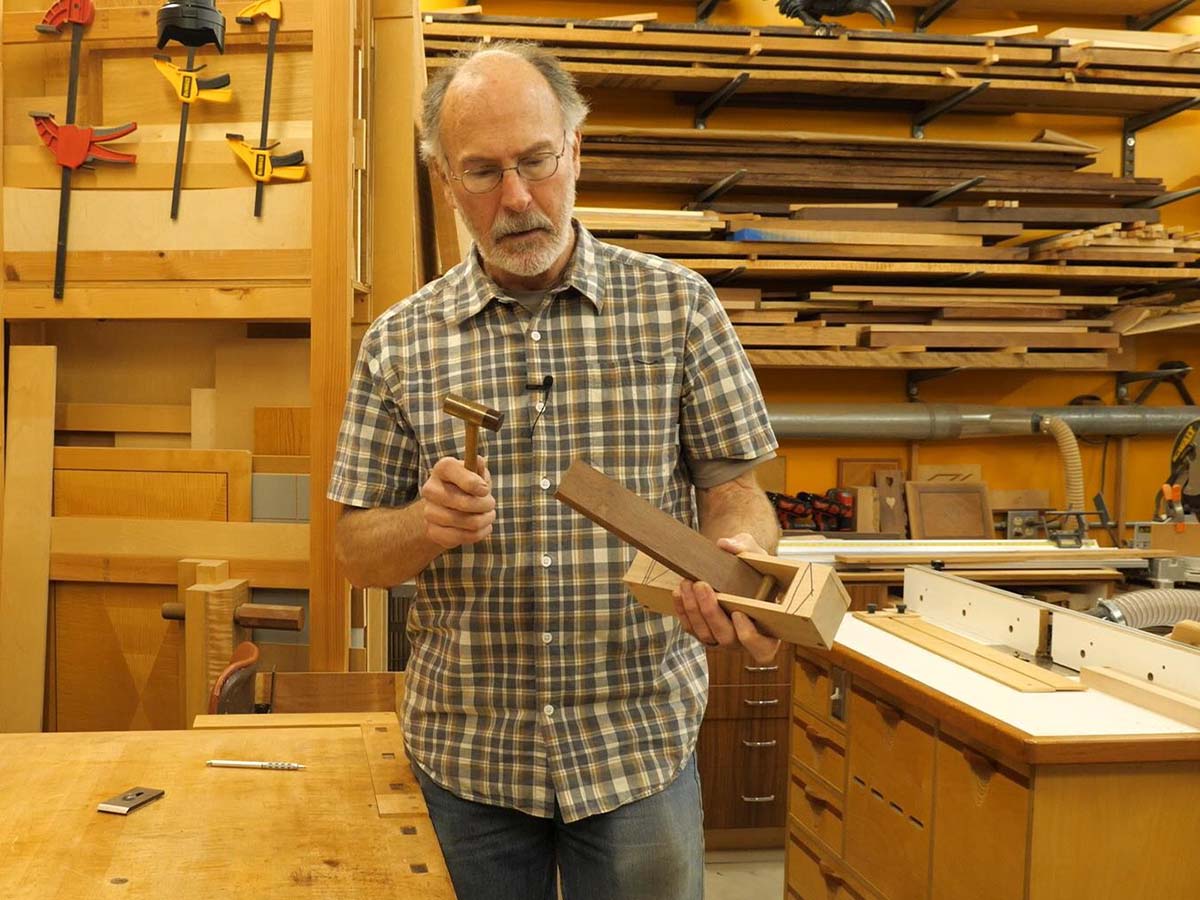
Surfacing the sole is pretty straightforward, but things can go awry if you’re not careful. Common issues include not keeping the sole square to the sides and removing too much material. The first issue typically arises when one of the plane sides isn’t even with the sole of the plane. If that’s the case, the plane doesn’t sit flat on the jointer and if you’re not holding the plane against your jointer fence you’ll end up with an angled sole. Not good… The best way to avoid this is to handplane the edge of the side (the part protruding from the sole) until it’s flush, then go to the jointer (or handplane the whole surface).
The other issue is typically caused by setting the jointer depth of cut too deep and/or not paying attention. If you take off too much material (like I almost did in the video), you’ll end up with a larger-than-desired mouth. According to Karl Holtey, that’s not really an issue, but YMMV.
Finishing up the wedge is next. As I discuss in the video, I really like an upswept wedge with a relatively large area to tap. If you search the web for “Krenov wood plane” images you’ll find lots of variations. I find many of them inelegant – chunky, poorly shaped, sharp-edged, etc. I’m a form-follows-function kind of guy, but when you can make something that looks nice while being fully functional, that’s the best outcome.
