Krenov Wood Plane Part 2
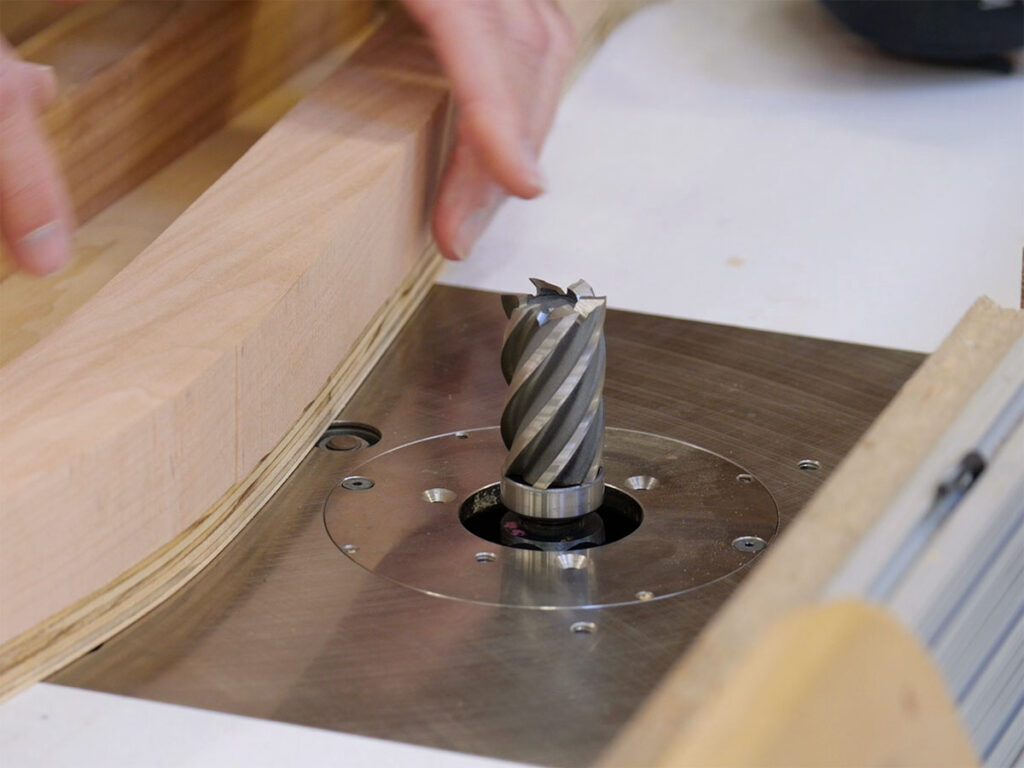
I had hoped to post this on Saturday, but I had some unfinished business to complete. In Spring 2020 I taught a class called Routers and Router Tables, in which students make a router table. The class was cut short due to the Covid shutdown and most of the students were unable to complete their projects. We were finally able to get back together the last couple of months, and Saturday was our last of three work days. Our primary goal during this last visit was the electrical wiring, which is intimidating if you haven’t done it before. If you would like to see what they built, check out this video. As were many of my school videos, it was made for the class so it’s unlisted on YouTube.
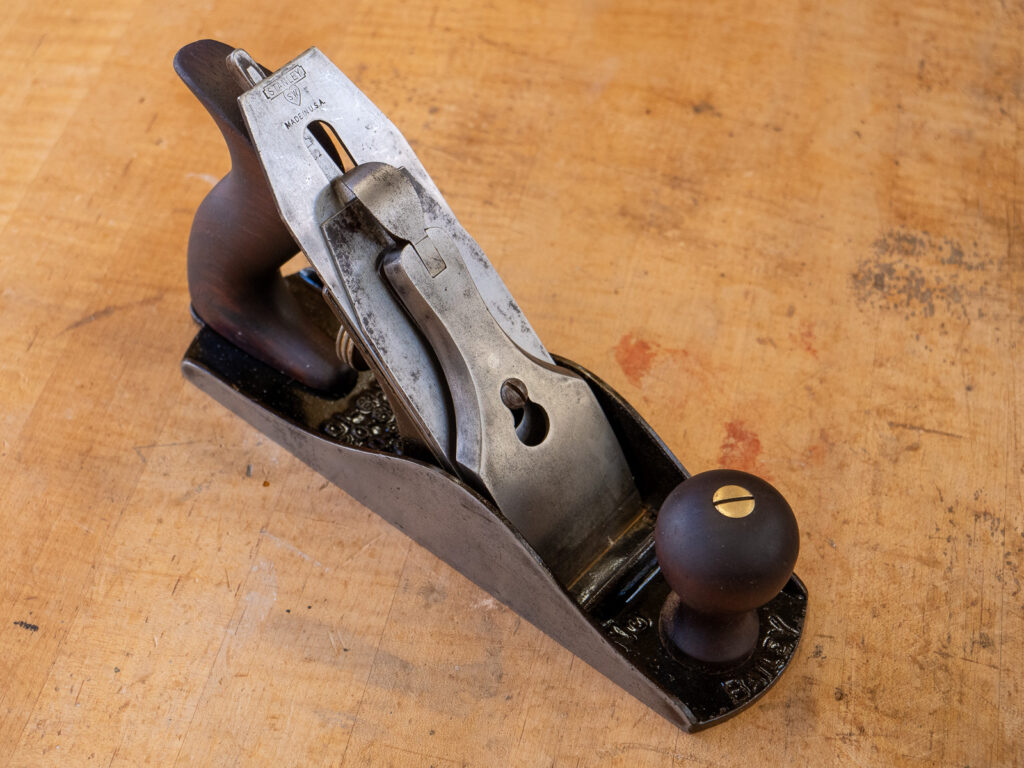
So, back to the plane. The next step is aligning the four body pieces and creating the cross-pin features. The cross-pin has round tenons on each end which fit into holes in the sides of the body. Drilling the holes in the body is pretty straightforward, although I still managed to make a minor error in the process. I have used 5/16″ holes and tenons in classes in the past, but I forgot that I don’t have a 5/16″ plug cutter in my home shop. Partway into the build I had to switch to a 3/8″ hole and tenon, which fortunately was easy to fix.
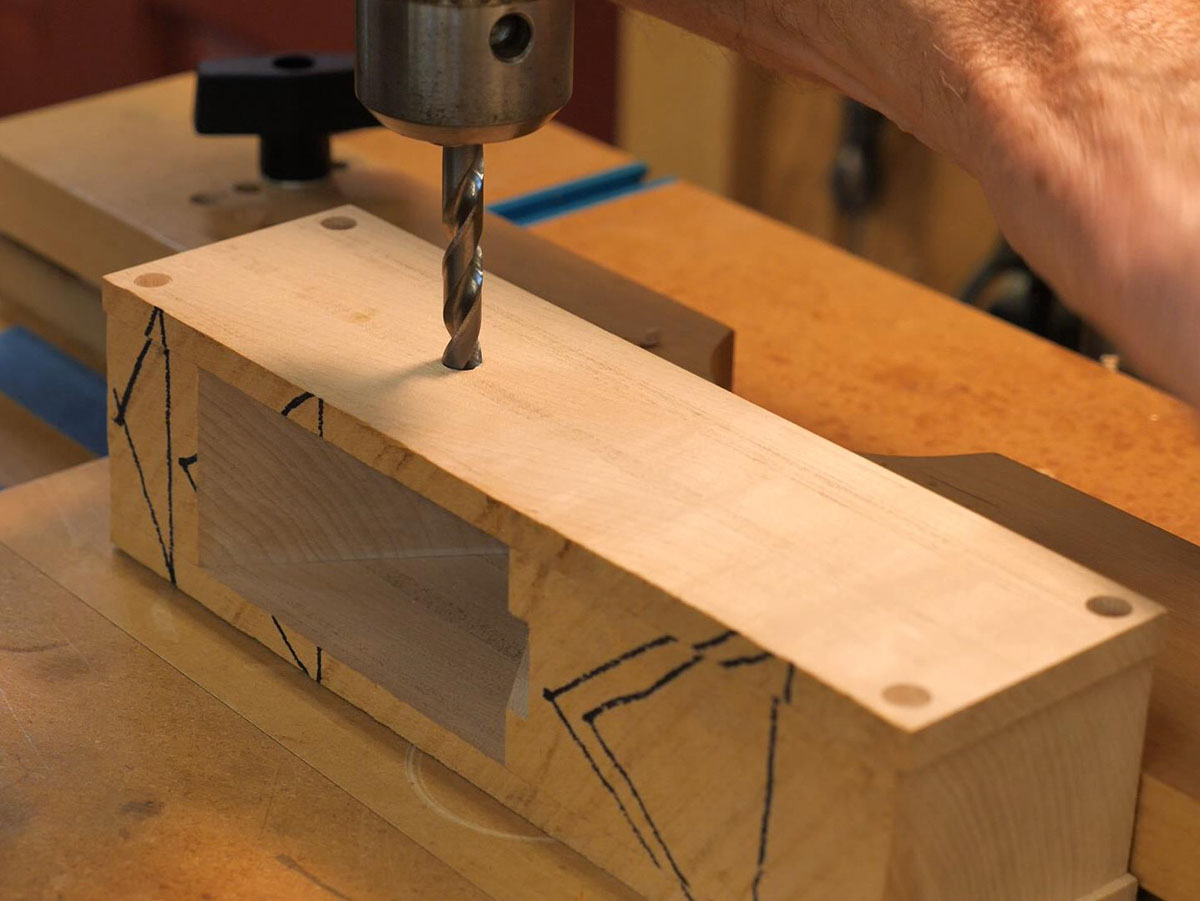
One error my students sometimes made was incorrectly measuring the cross-pin location on the side of the plane. I think the location is clearly shown in my handout, but for some reason some students measure the 3/4″ dimension horizontally or vertically and not perpendicular to the bed. Don’t make that mistake! The plane will still work, but it then requires a very thin wedge.
The trickiest part of this process is making the cross-pin tenon. Using a plug cutter as David Finck describes works fine, but it’s a bit of a challenge to get it aligned correctly on both ends of the cross-pin. It’s easy to mess this up, so make several blanks when you cut them to length. You’ll need a piece at least 10″ long to make the milling easy, so you should have plenty of material for extras.
