Plane Tune-up 6
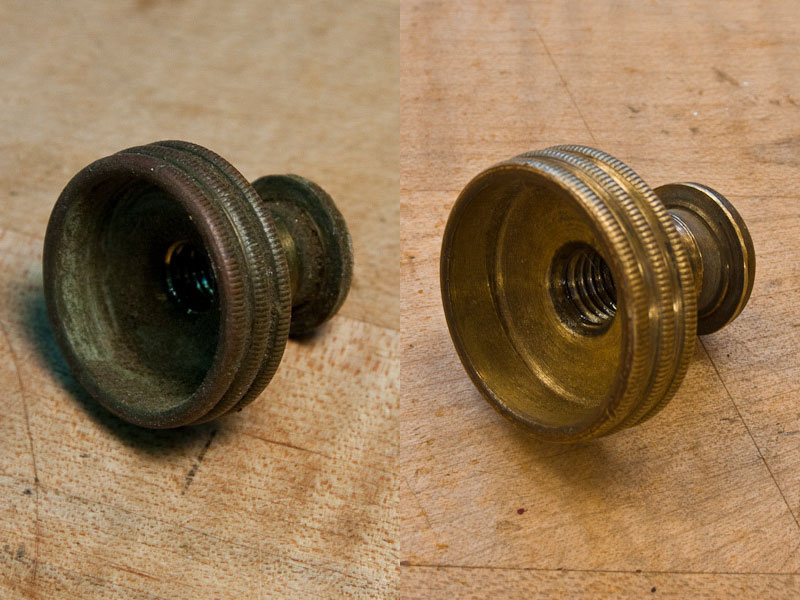
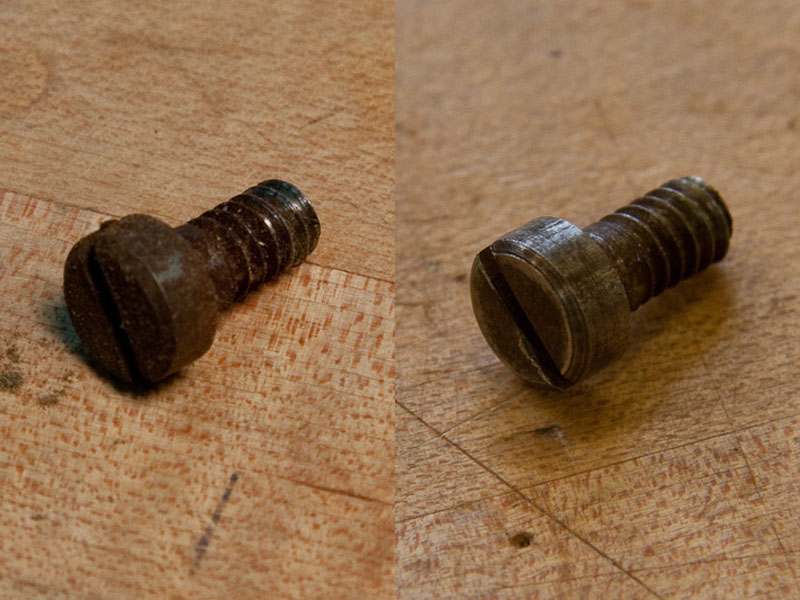
Cleaning up the various bits and pieces is next. My goal in this endeavor is to get the parts clean and burr-free but keep the patina relatively intact. I start by cleaning all the fasteners in paint thinner or kerosene. The solvent and a toothbrush removes the grime and bits of crud on the parts. Once the parts are clean and dry, I use a small brass-bristle brush to finish the job. On screws, the brass brush will really clean up the threads and get any crud out from under screw heads, etc. It also burnishes the metal a bit, giving it a bit of luster. Here are before and after photos of some of the parts:
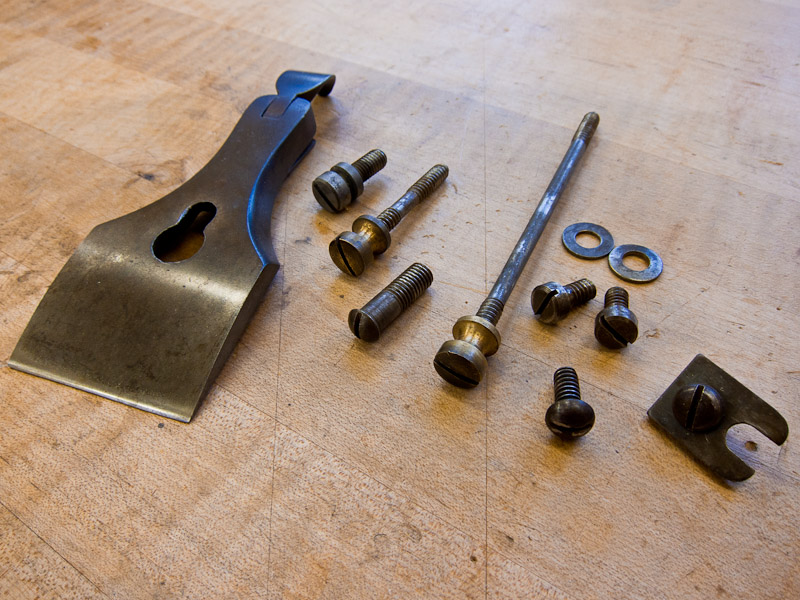
On screws, the heads inevitably has some small burrs from screwdriver abuse, so I use a fine file to remove them. Here’s all the parts cleaned up:
The lever cap has been cleaned and burnished with 0000 steel wool. Once again, I want it clean but I like to keep the patina, so I avoid more aggressive abrasives. A fine Sandflex Hand Block also works well to clean up those types of surfaces.
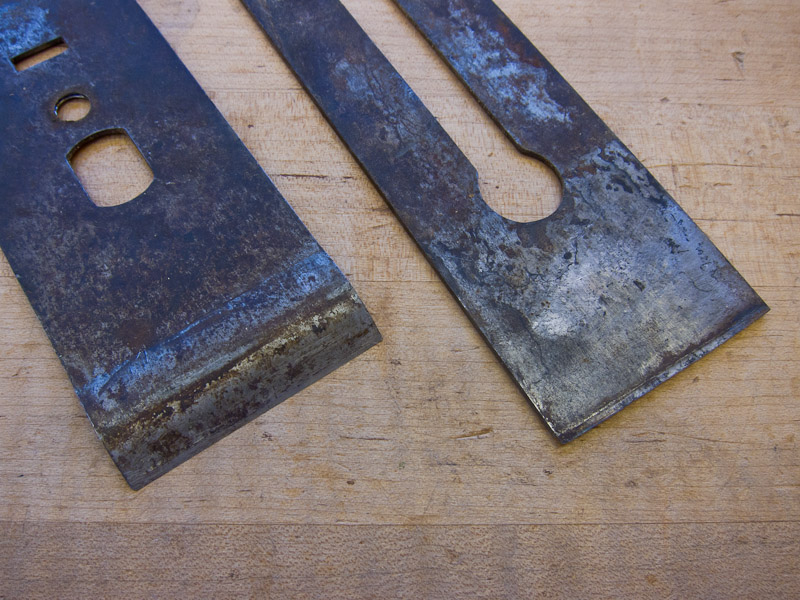
The chipbreaker typically needs some attention. In order for the plane to operate correctly, it must seat tightly on the blade and the front edge must be smooth. Here’s how the parts look before cleaning:
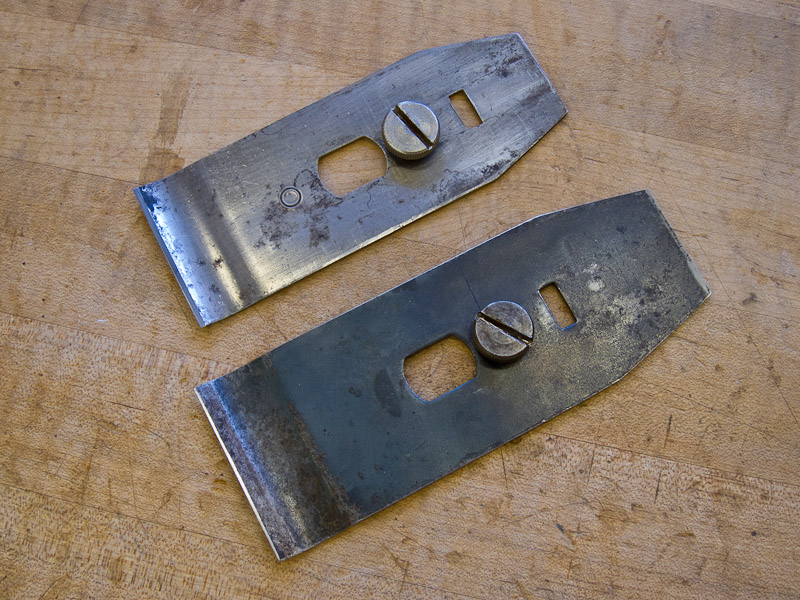
They look pretty good, despite the rough appearance. There is no serious rust; it’s mostly on the surface with no pitting. The front edge of the chipbreaker is in great shape, with no obvious dents or burrs. The chipbreaker is probably original, as can be seen in the next photo, where I show it (bottom) compared to a newer chipbreaker (top). Note the dark surface on the older one, which is common for this vintage.
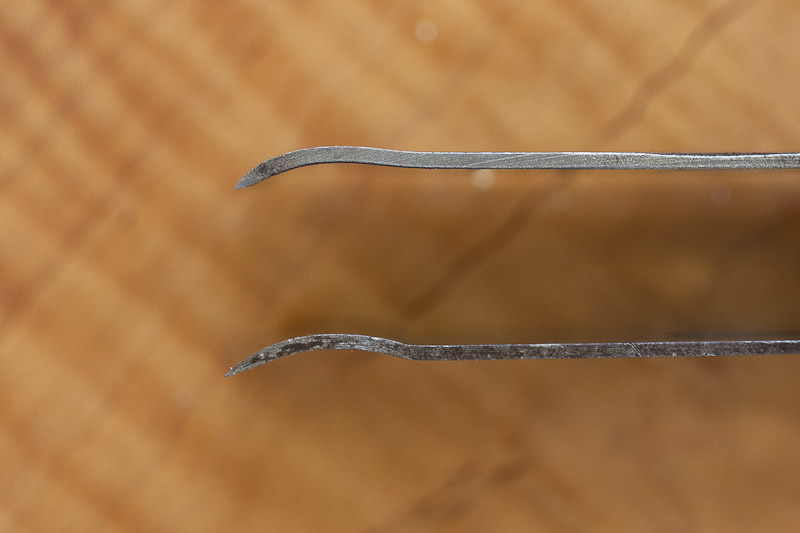
Another difference is the shape of the front edge, as shown here:
Note the tapered profile of the older chipbreaker (bottom), and the crisper bend where the curve starts, both indications that Stanley put more time and effort into their early planes. I’m not sure when they quit doing this, but the Type 11 and Type 12 planes seemed to be at the peak in terms of quality of Stanley plane manufacturing.
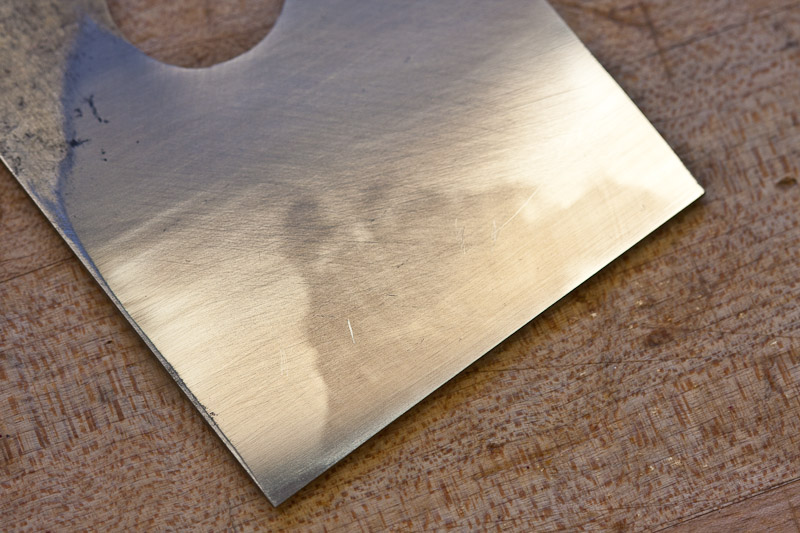
I sharpen the blade next. There are myriad descriptions on the internet of how to do that, so I won’t cover that here. The blade cleaned up nicely; here’s a photo of the back.
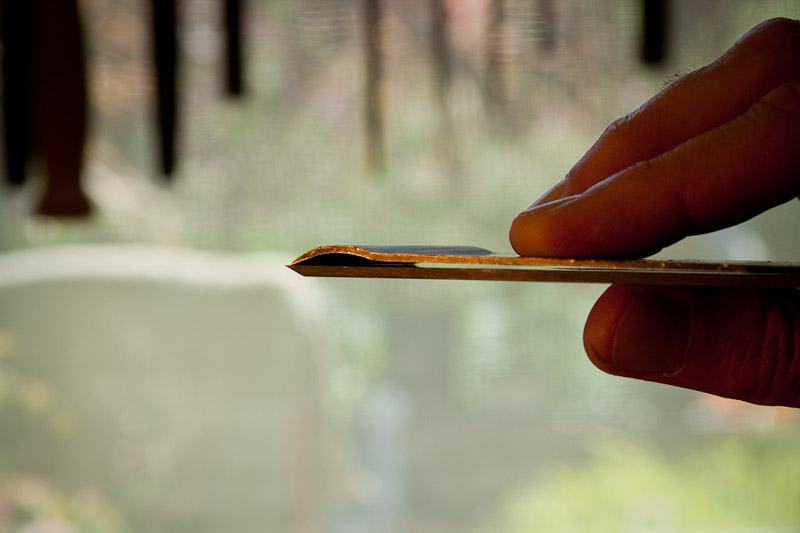
Now that the blade back is flat and smooth, I can check the fit of the chipbreaker. I check it by holding it in position on the blade and looking for gaps, like this:
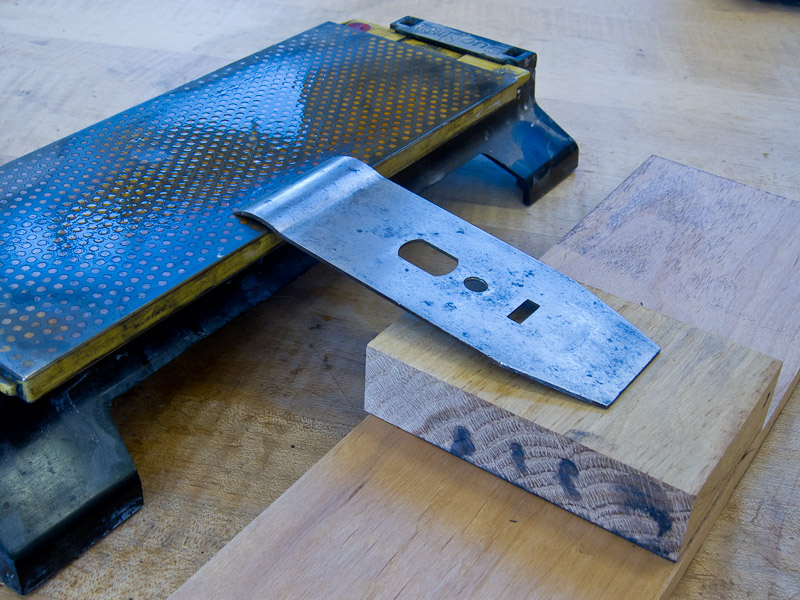
This looks good (the photo was taken after fettling the chipbreaker). Typically, there will be a gap or gaps along the interface. On occasion I have seen a twisted chipbreaker; careful tweaking in a vise will fix that. To fix gaps, the underside edge of the chipbreaker must be flattened. That’s not quite as simple as it sounds, as a bevel must be created there, with an angle that must somewhat match the underside curve. I do it with the setup below:
I use a diamond stone, although a 1000-grit waterstone will work also. Note that the back end of the chipbreaker is about 3/4″ lower than the stone in order to get the correct angle. Carefully clean up the surface and check the fit against the blade until no gaps appear.
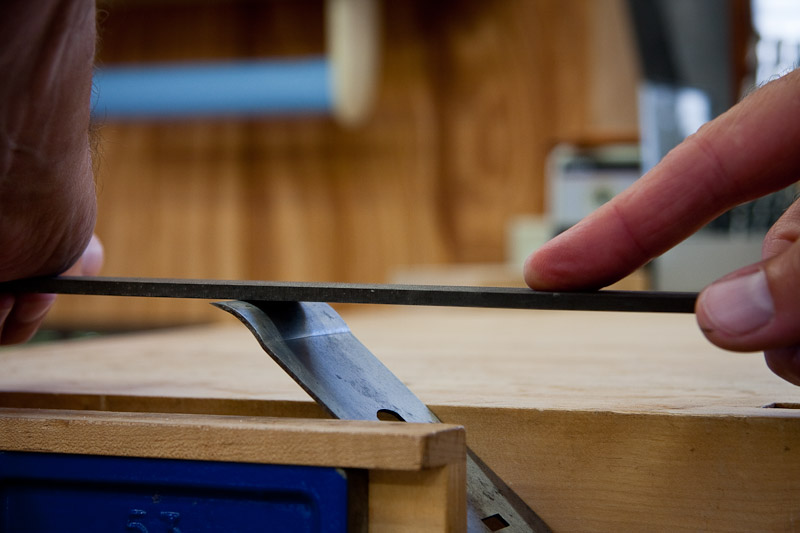
To clean up and smooth the upper surface of the chipbreaker, I clamp it in a vise and carefully file the curve.
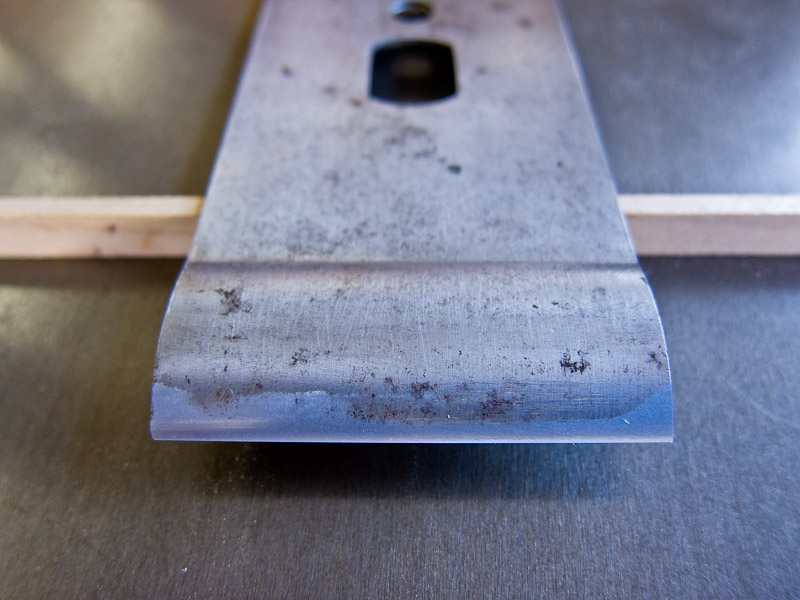
The edge should be relatively sharp. I remove the file marks using a 1000-grit waterstone and then polish with a 4000-grit stone. Here’s the completed chipbreaker:
The shavings will glide easily past that smooth surface! Next, we’ll clean up the handle and knob.
