Plane Tune-up 1
This is the first of some old posts I’ll be updating. I’ll be re-issuing some of my more popular posts from my old site. This post, along with 11 others, will recap the steps necessary to tune up an old Stanley plane.
UPDATE: For various reasons, I have decided not repost old posts, and will be heavily editing and combining the old posts to better communicate this process.
Here is my first post in the series, first published May 24, 2010:
I just purchased a plane on eBay. Not that I need another plane… I just wanted to describe the steps I take to tune up a bench plane, and I neglected to purchase a suitable plane last week at the quarterly Old Tool Swap at Anderson Plywood in Culver City. Just plane forgot…
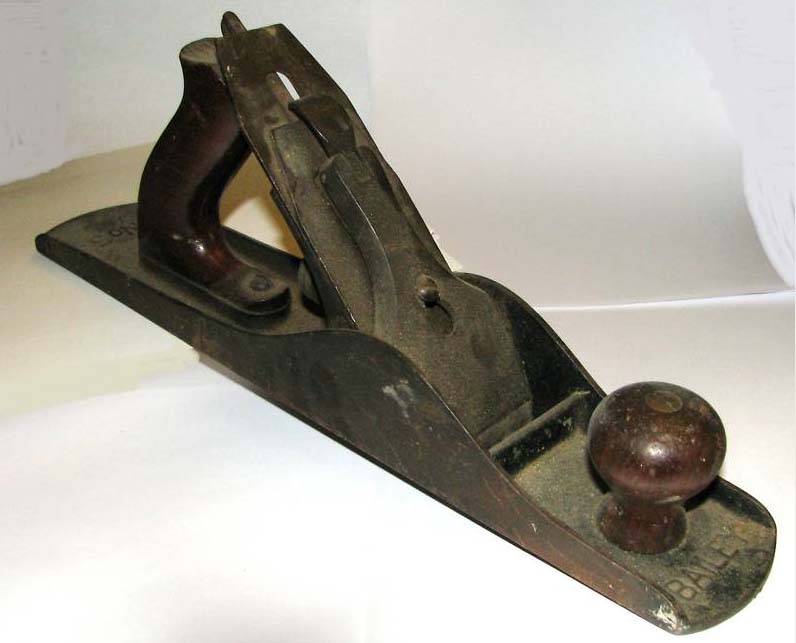
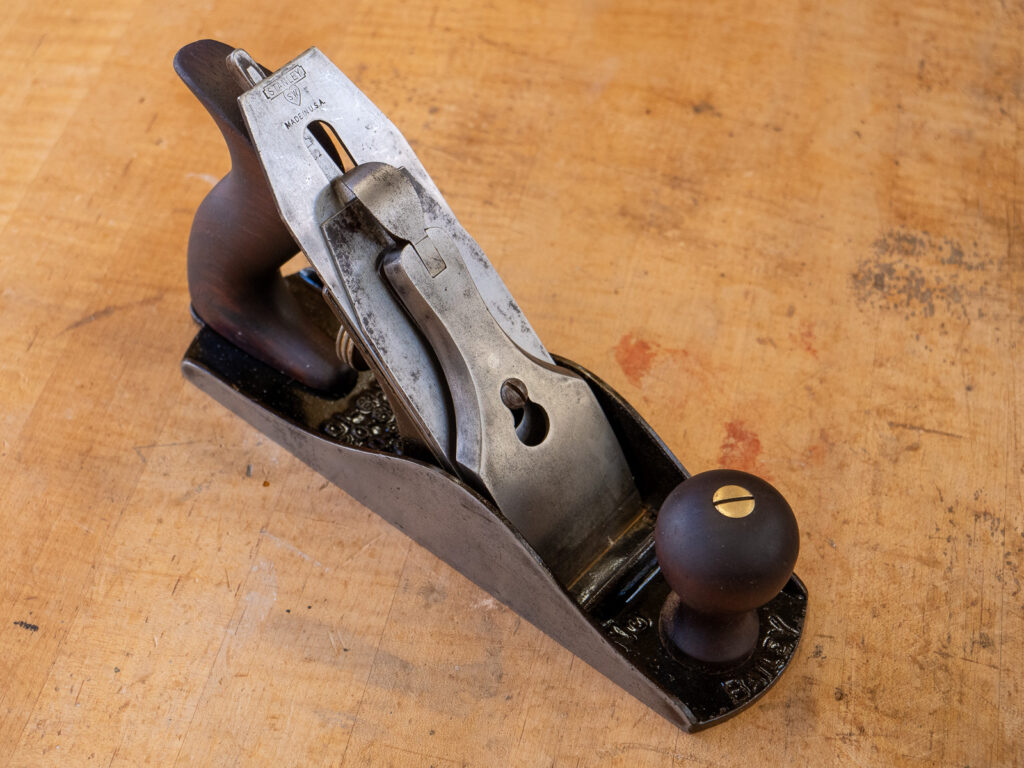
The plane is a Stanley #5. It’s a little hard to tell in the photo, but it’s a Type 11 – low knob, no raised ring around knob, no logo on lever cap, small adjuster knob. When purchasing old Stanley bench planes, the Type 11 is my first choice; I like the low knob. Types 11 through 16, however, have the main features I’m looking for: frog-adjusting screw, rosewood knob and tote, and the frog is accurately located front and back (more on that later). See my video on Stanley handplane identification if you’re interested.
The seller only posted the photo above and this description “Nice #5 Baily [sic] wood plane. Blade is a Stanley with the Sweetheart mark. Handle has a chip removed at the top; but no cracks. A few spots of lite rust. This is as found, has not been cleaned.” Bidding started at $9.90 and shipping was $13.03. Perfect for my project.
When purchasing an old plane, I have the following questions:
- Is anything cracked? Cracks on the body around the mouth area immediately disqualify the purchase.
- Are all the parts there? Parts can be replaced, but I’d prefer to not mess with hunting down replacement parts.
- Is the blade salvageable? No pitting near the tip, lots of blade left, and flat. Ron Hock and others make great replacement irons, but this will add about $35 to the plane. Ditto for the chipbreaker, but at a lesser cost.
- Is there a lot of rust? Surface rust is no problem, but when parts are really pitted, I’ll pass.
- Are the handle and tote salvageable? No serious cracks. A chipped handle (like this plane) can be fixed, but some damage isn’t worth fixing and will require replacement.
- Are the adjustment knob and lateral adjusting lever working well? The brass adjustment knob can get pretty trashed where it interfaces with the Y-adjusting lever, or the knurling can be worn off. The lateral adjusting lever rivets can be loose, the washer may be missing, or the little tab at the far end of the lever can be loose or missing. The knob is easy to replace, but replacing the lateral adjusting lever is tricky business.
From what I could see in the photo, everything looked pretty good, but I needed more info. I emailed the seller to see if he could supply some additional photos. He did, emailing me three pics. They showed the underside of the body around the mouth; the blade/chipbreaker and lever cap; and the area behind the frog. Not great pics, but enough for me to determine what I’d spend on the plane.
I decided my maximum price would be $35 including the shipping, which worked out to a max bid of $21.97. No one was bidding on the plane, so I hoped I might get it for much less. Turns out, I got the plane with a winning bid of $12.47, for a total price of $25.50. I quickly paid, and the seller shipped it the next day.
